Introduction
This is the first in a series of AI project books that I plan to write. While in the future I want the books to be self contained, this book is definitely the most basic. It is meant to teach all the topics needed for someone who does not know much about AI and/or software. If you are more advanced in your knowledge, I recommend that you skim through the first chapter and then read through the more PyScript focused sections in chapters 2 and 3. The goal of this project work book is to help the reader to be able to build and run an AI project that runs on the web. I will do my best to explain all the parts involved and emphasize what are the machine learning parts vs. the web development, infrastructure, or support parts. Basically, what we are trying to do is to deploy a machine learning algorithm that does something on a web browser. To be able to do this, we need an AI algorithm which takes inputs and produces outputs. We also need the infrastructure that allows us to interact with the AI algorithm which in this case is HTML and PyScript. Finally, we need the environment where everything runs. Here, any browser such as Safari, Edge, Firefox, etc. should do it. And we need a way to edit and host the files. For that, we will use GitHub. Of course, you need a computer with internet access and a browser. Any computer and any internet should do it.
I have included an image of the book cover in the next figure. To me, the book cover encapsulates exactly my intention for each of the volumes in this series. Each volume focuses on one AI methodology, one project, and all the background I think you need to complete it. I hope each work book is fun and that at the end you have a completed project that you can share with your friends and family. This book project can be completed by a person or family in one or 2 weekends. You do not need to purchase any kits, and your laptop should be all you need. Any supplementary materials should be available from the official course repo or my website.

Copyright and License
All rights reserved. No part of this work may be reproduced or transmitted in any form or by any means, without written permission of the copyright owner.
MIT License.
FTC and Amazon Disclaimer
This post/page/article includes Amazon Affiliate links to products. This site receives income if you purchase through these links.
This income helps support content such as this one.

Some of the tools and technologies that we will need or can use include:
Complete list of Tools and Technologies
To build and run the AI project in this work book you will need to use several technological tools. Most of what you need is software. For the project you will be working with code and writing software. However, coding means using several different modules that all work together to achieve a specific goal. Most of the book will focus on introducing these software modules. First, I will explain and provide examples of the different modules. It will be important to understand what they are for and how to use them independently. Then, we will need to combine them to build and run our project. GitHub, which I will describe shortly is a platform for hosting code. Like an Instagram but instead of sharing pictures you can share code, blog posts, web pages, etc. GitHub will be very important to deploy our projects.
- GitHub
- HTML
- JavaScript
- PyScript
- Numpy
- Python
- Pandas
- Fisher's Iris Dataset
KNN which is our AI/machine learning algorithm, will be built and deployed using these previously listed tools. In the next subsections, I will provide brief descriptions of each of these software tools and technologies.
GitHub
GitHub is an amazing on line platform. It allows you to upload code, and create files describing your code. These files can be formatted and you can create very impressive pages describing your code. All of that is available through the web of course. GitHub also allows you to create your own websites using the url they create for you or even using your own domain name. This feature is called Pages. GitHub is how you will host, and publish your AI tool on the web. You could also do this by installing web hosting software on your computer or using your own cloud service, but GitHub is cooler. To use GitHub to Run your AI project on the web you will need to set up an account with them, create some files with some code, and configure Pages to view your finished AI tool. I will describe these 3 task in the next sections. So, yes, we can basically do everything in the GitHub site without having to install anything else.
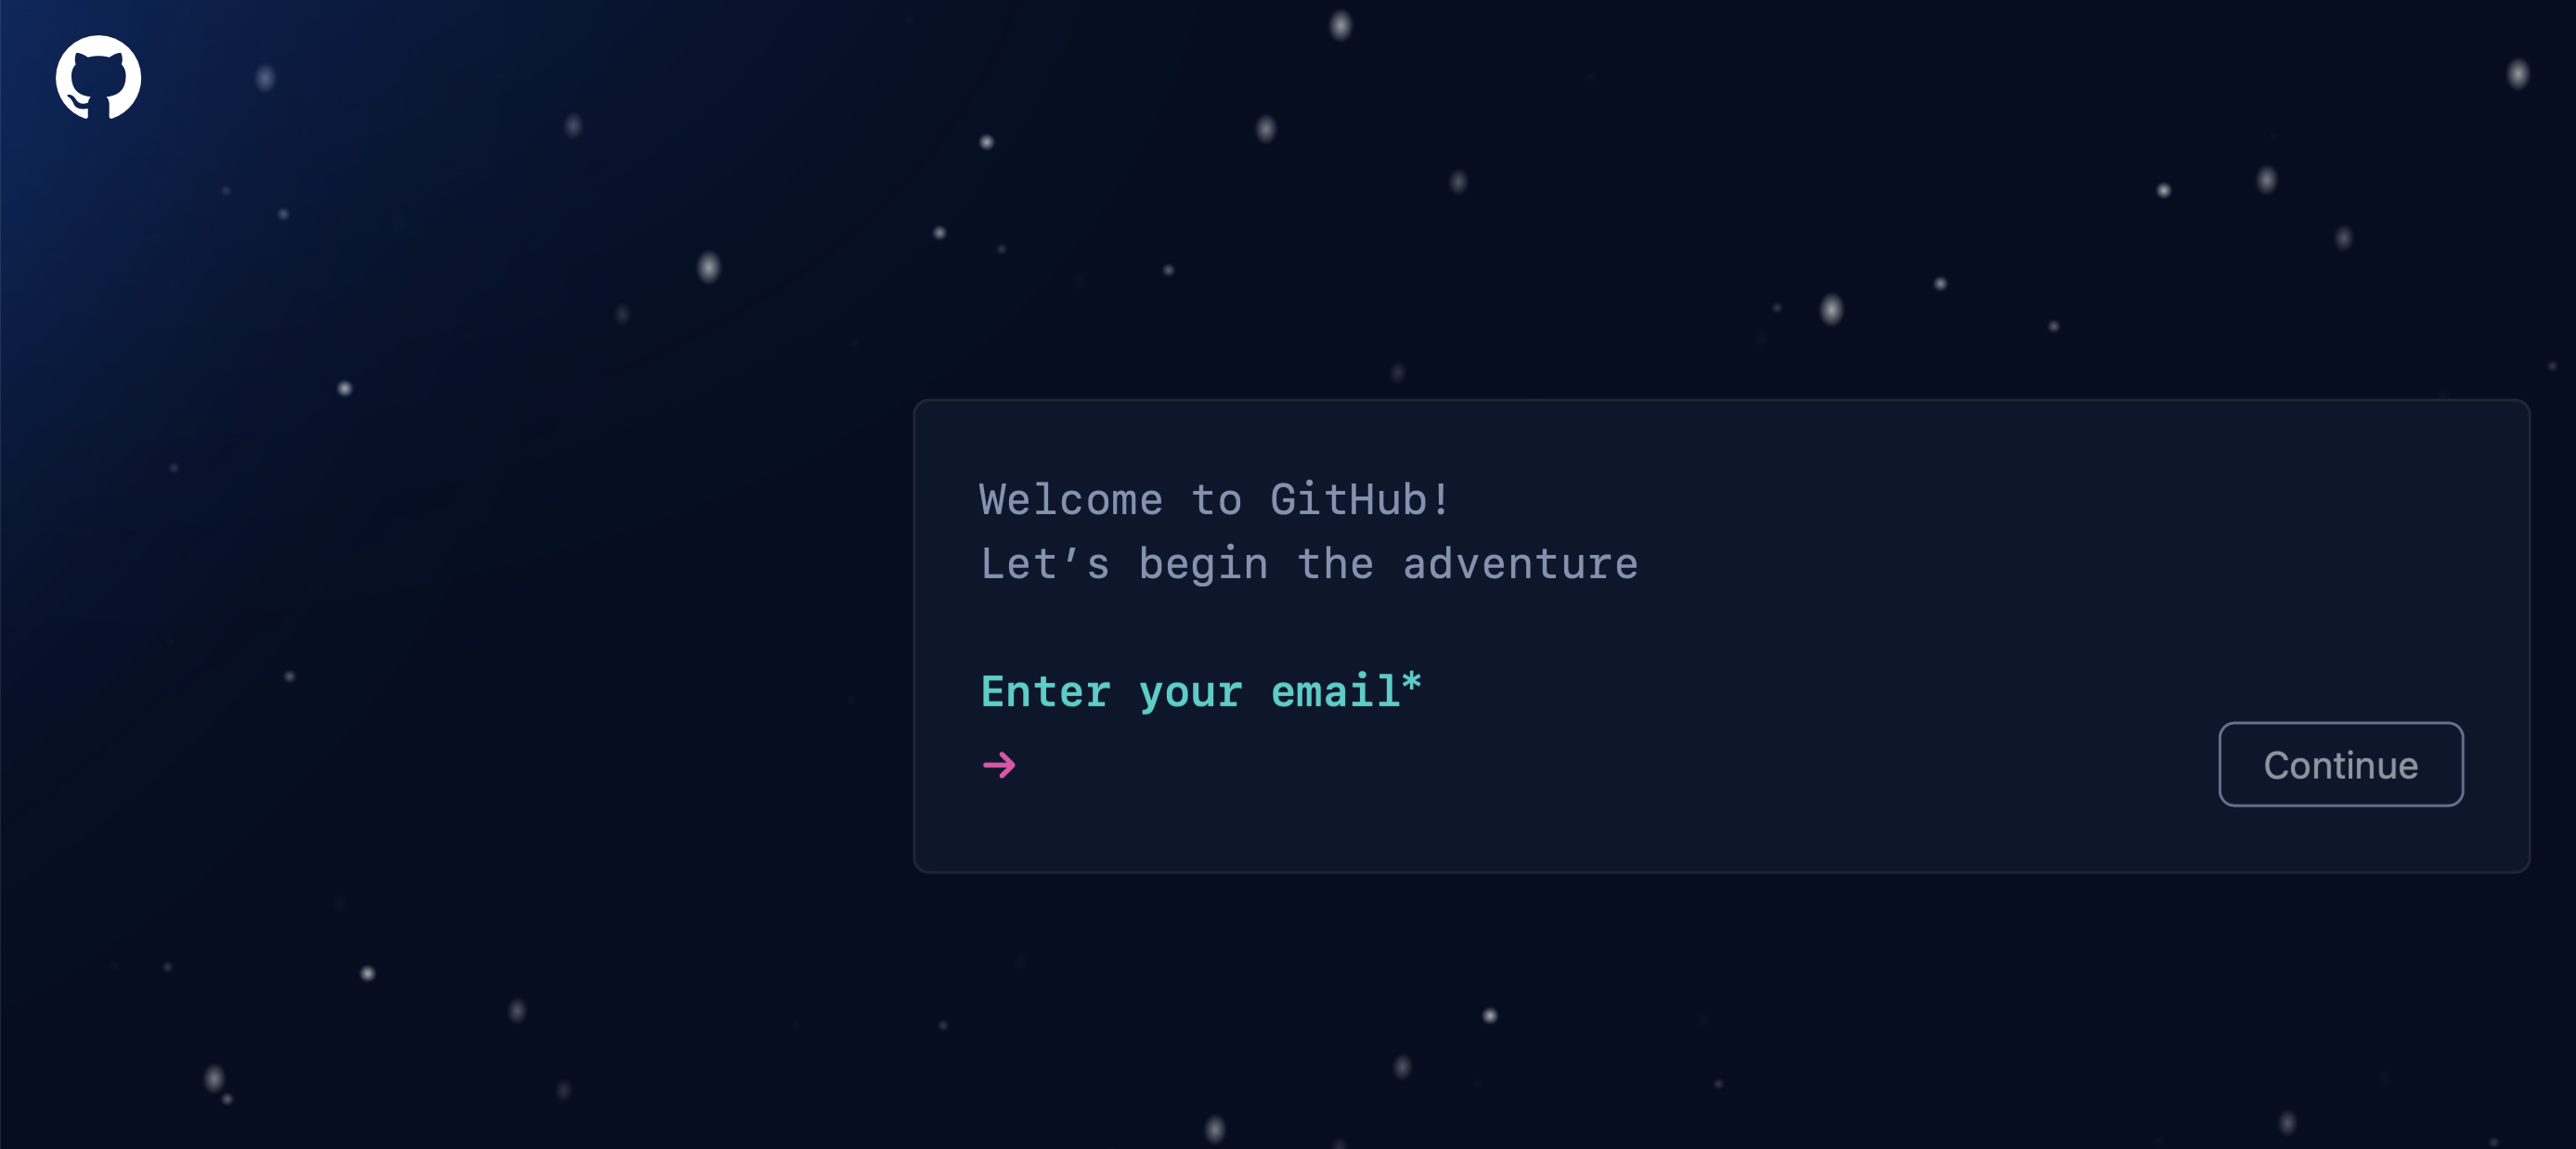
Creating Account with GitHub
First we need to create our GitHub account. We can do this by visiting the GitHub website. Once there, click on sign up. You should get a screen that looks like the one on the following figure. In the sign up sheet, you will follow the steps that are common when you sign up to any on-line service such as providing your name, email, and setting up a password.
In the next section we will learn how to create files and folders on GitHub.
Creating and Editing Folders and Files on GitHub
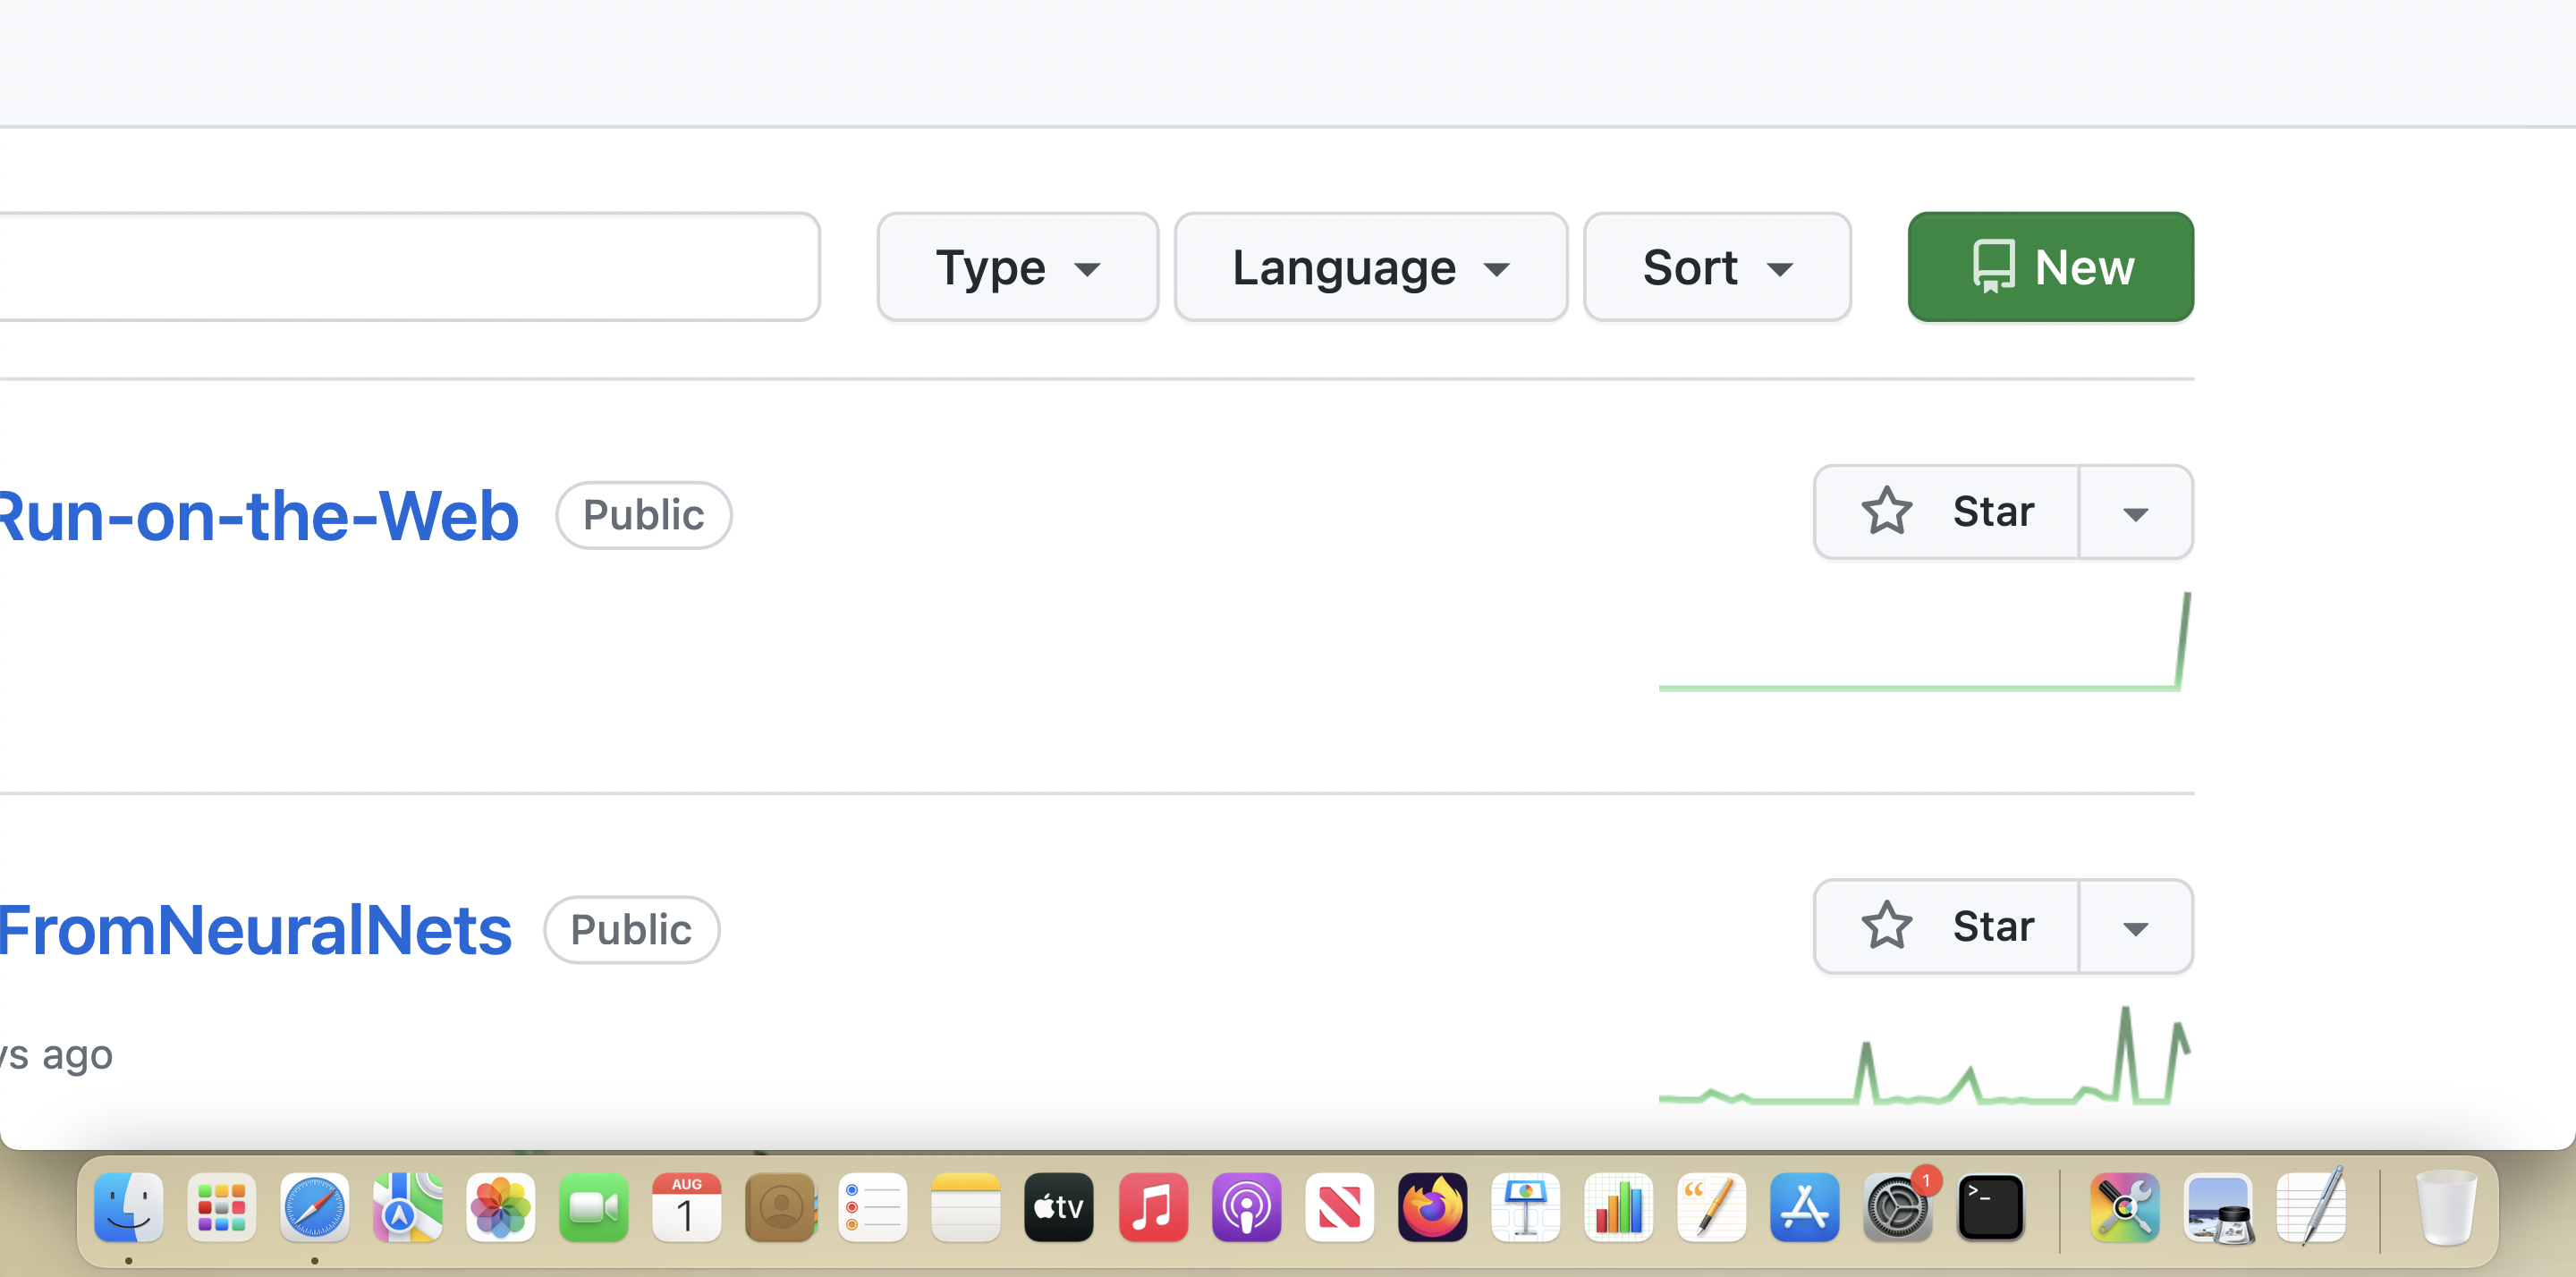
Once you have created your account and completed the sign up on GitHub, you can proceed to create your repository (usually called a repo) on GitHub. The steps should be as follows. Go to the top menu on the main page and click on repositories. Then you can click on the green button that says new on the upper right hand corner as can be seen in the figure below.
Now in the text box after your user name, you can add the name for your new repo. As can be seen in the next figure, you can type any name you want. Do not use spaces and instead consider using dashes.
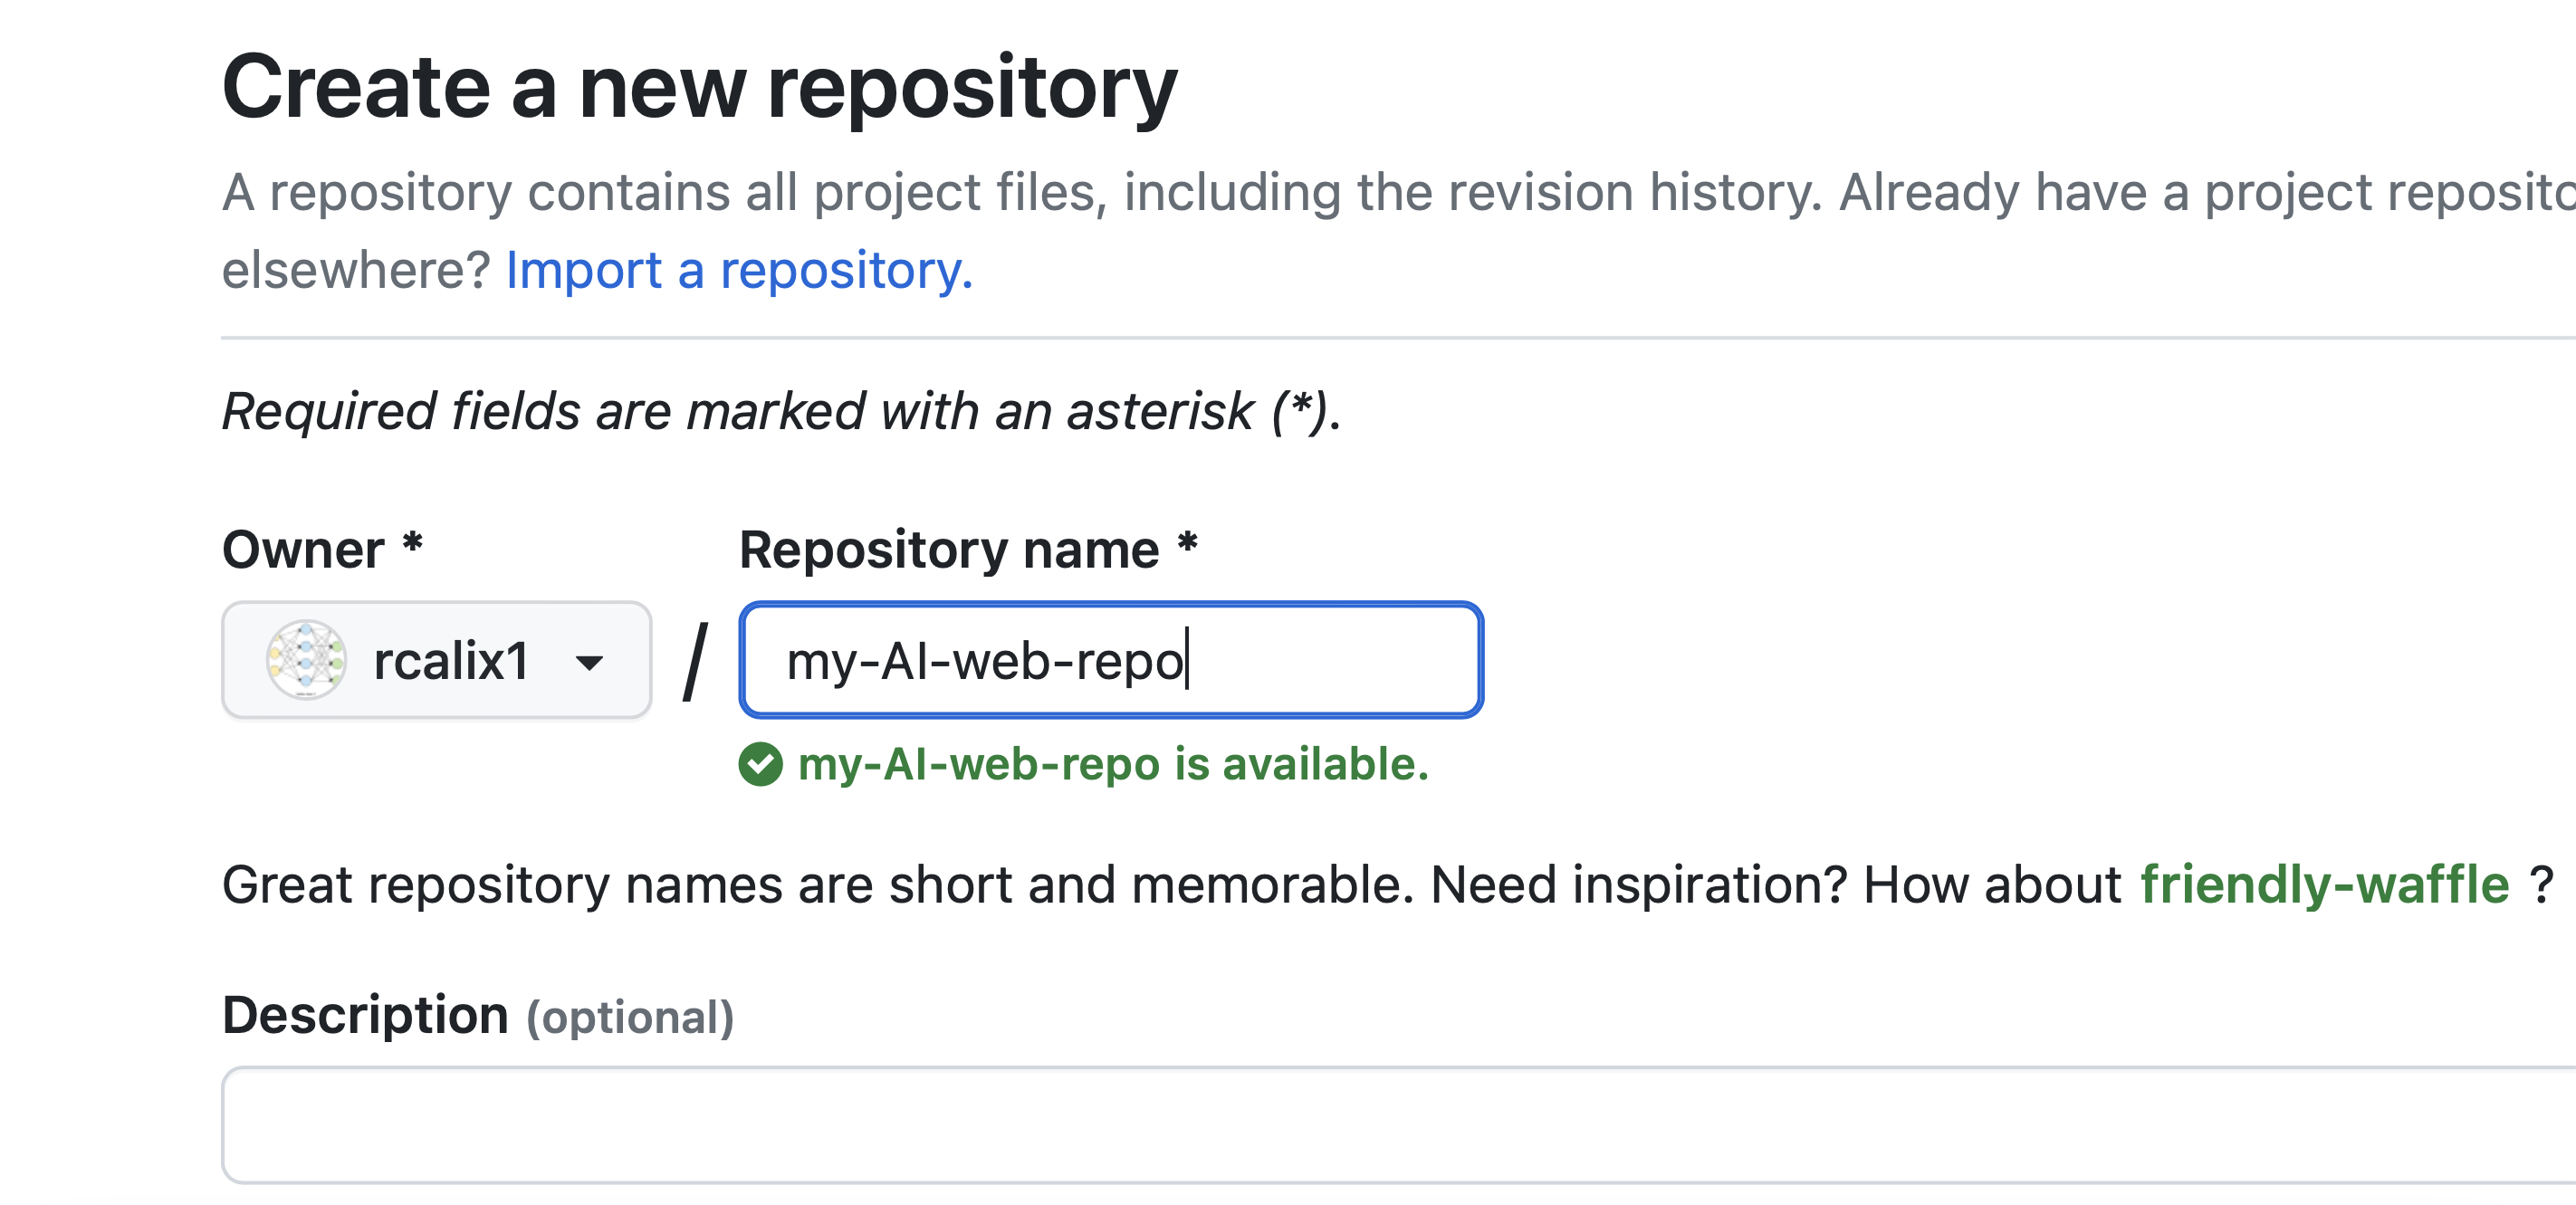
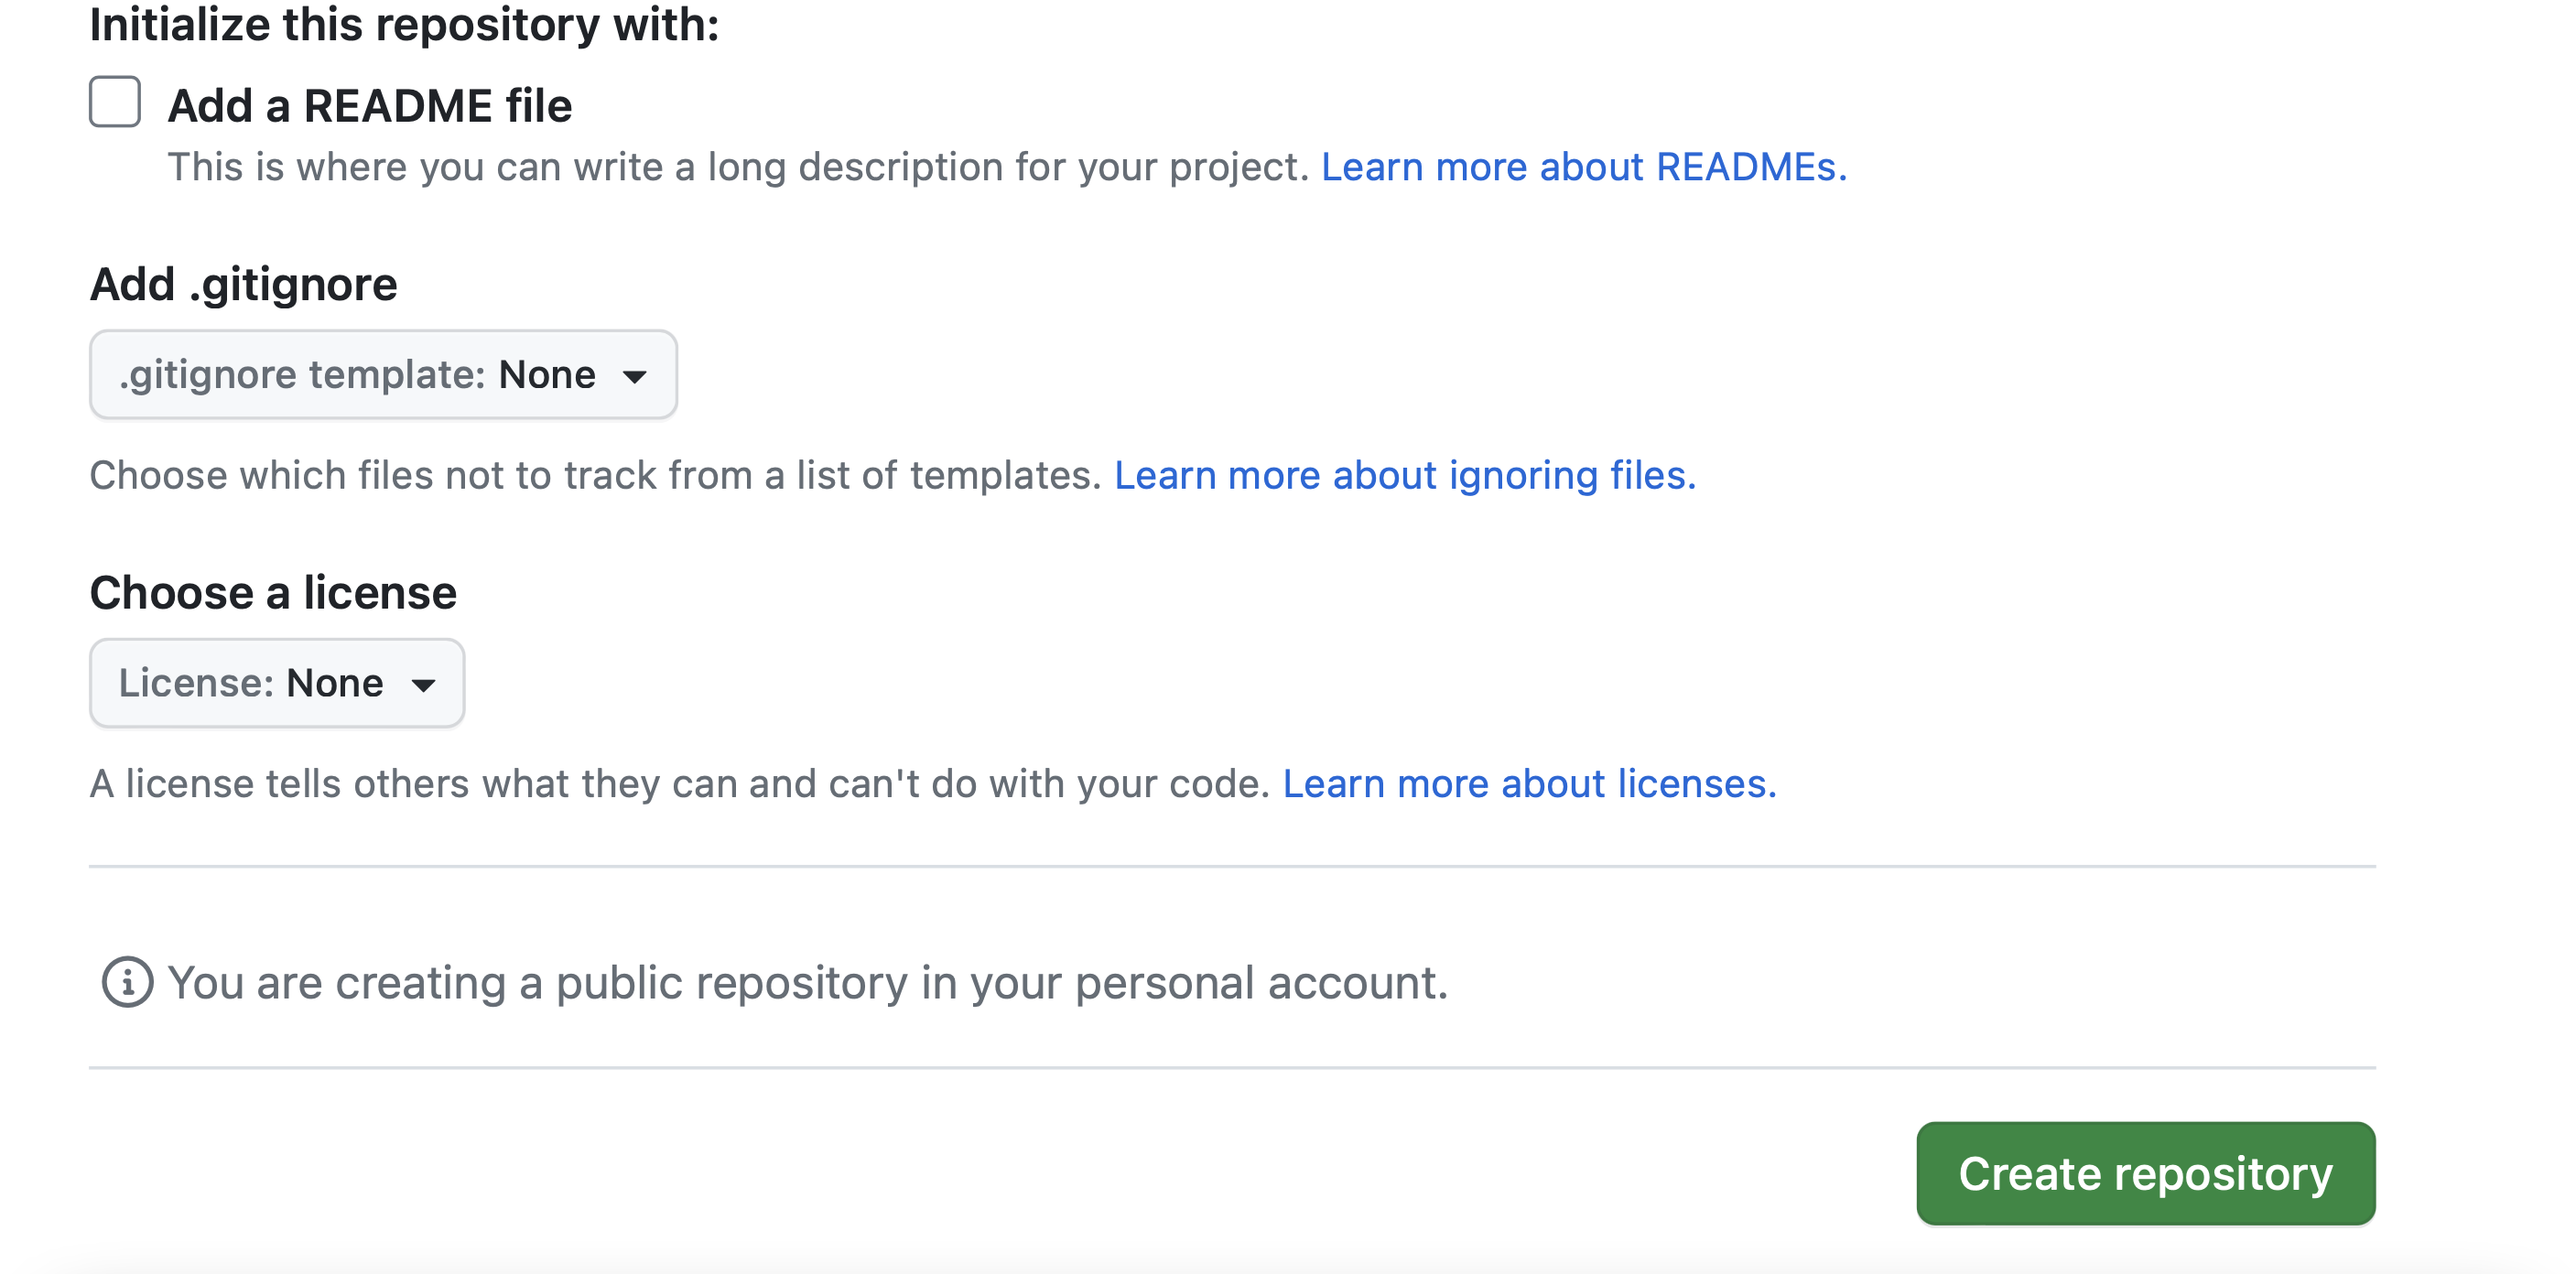
GitHub will check that the name is available. Once it is confirmed, you can click the green button that says create repository.
Once you have a repo, the next thing you may want to do is to create folders and files. You can click on Add File on the upper right hand corner of the screen as can be seen in the next figure. This Add File is not a button but a drop down. Here you have the option of adding files with upload. Or to create a file.

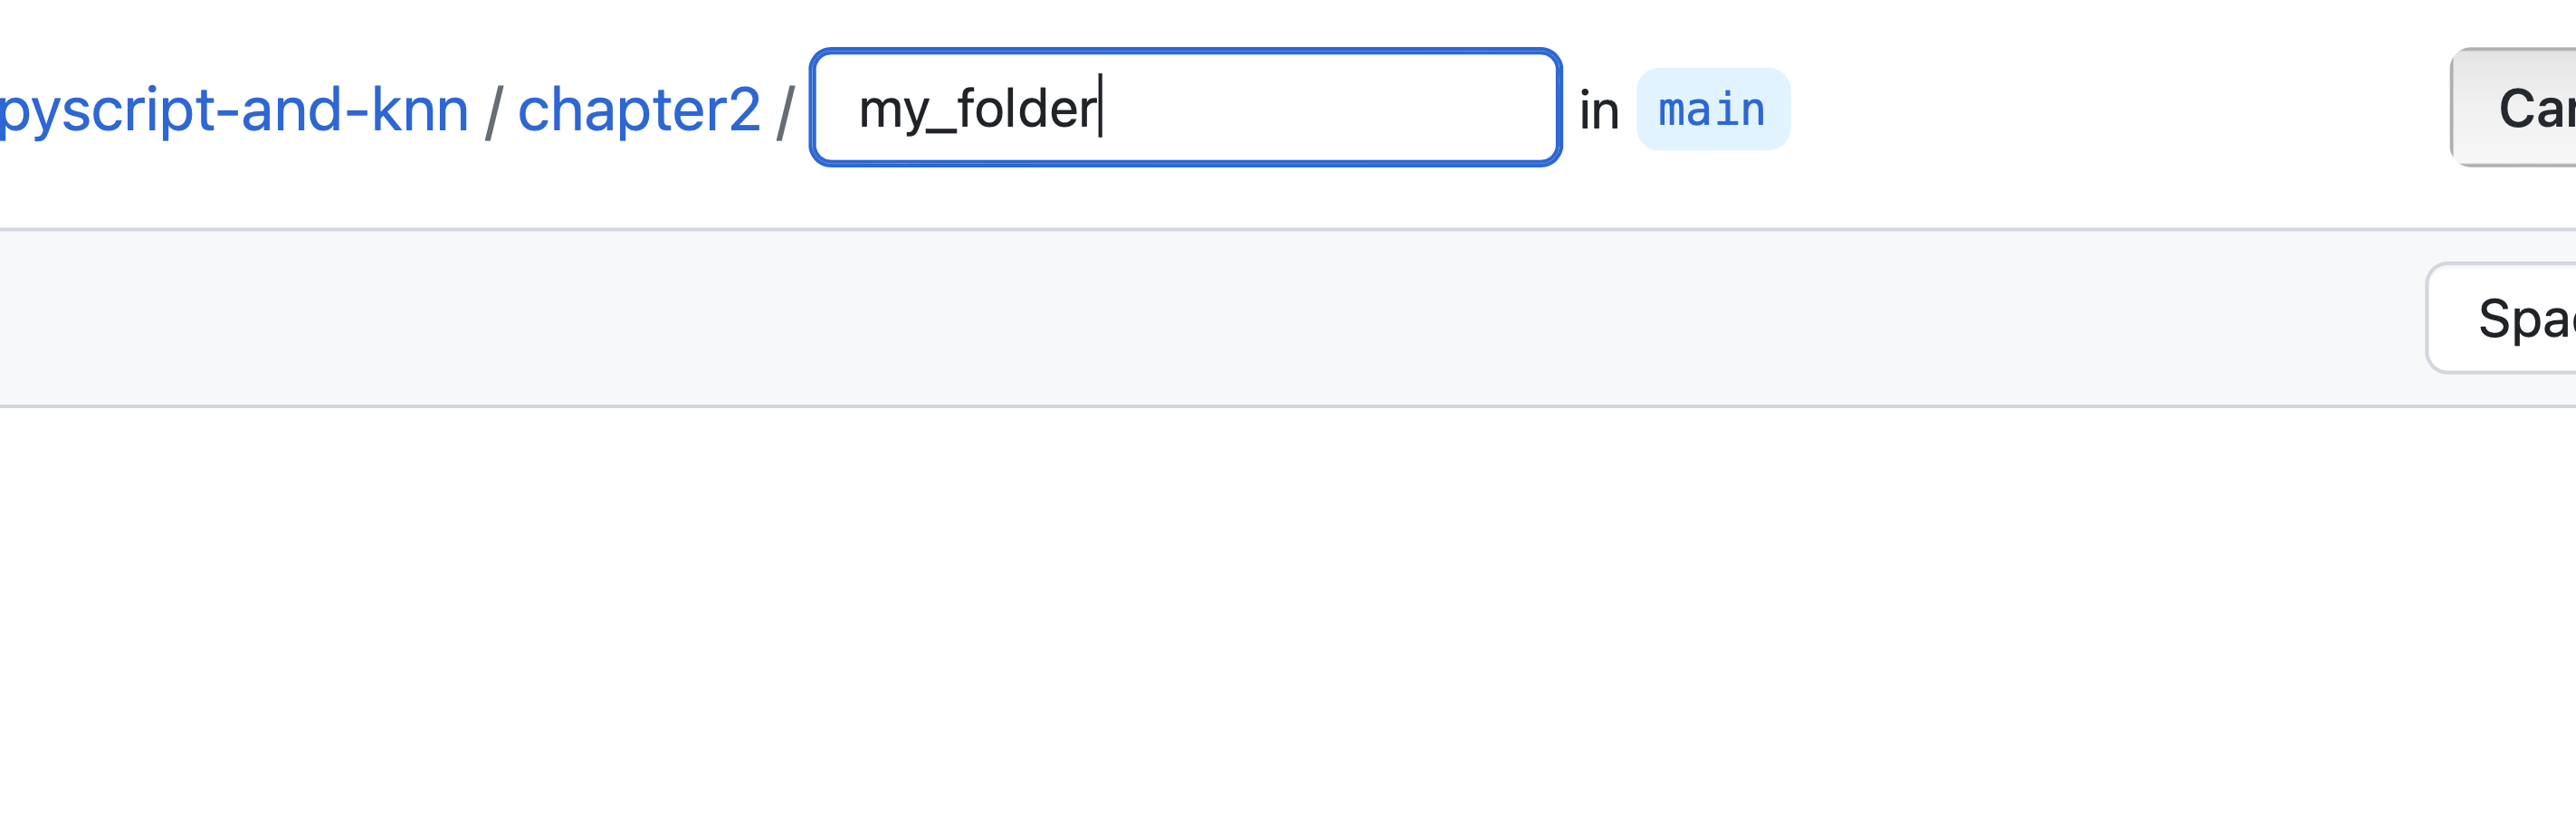
GitHub allows you to create folders and files in the same manner using this Add File drop down. So, if you just do "index.html" it will only create a file. But if you do "my_folder/index.html", then it will create both the folder and the file together. In the next figure you can see that I am creating a folder called "my_folder".
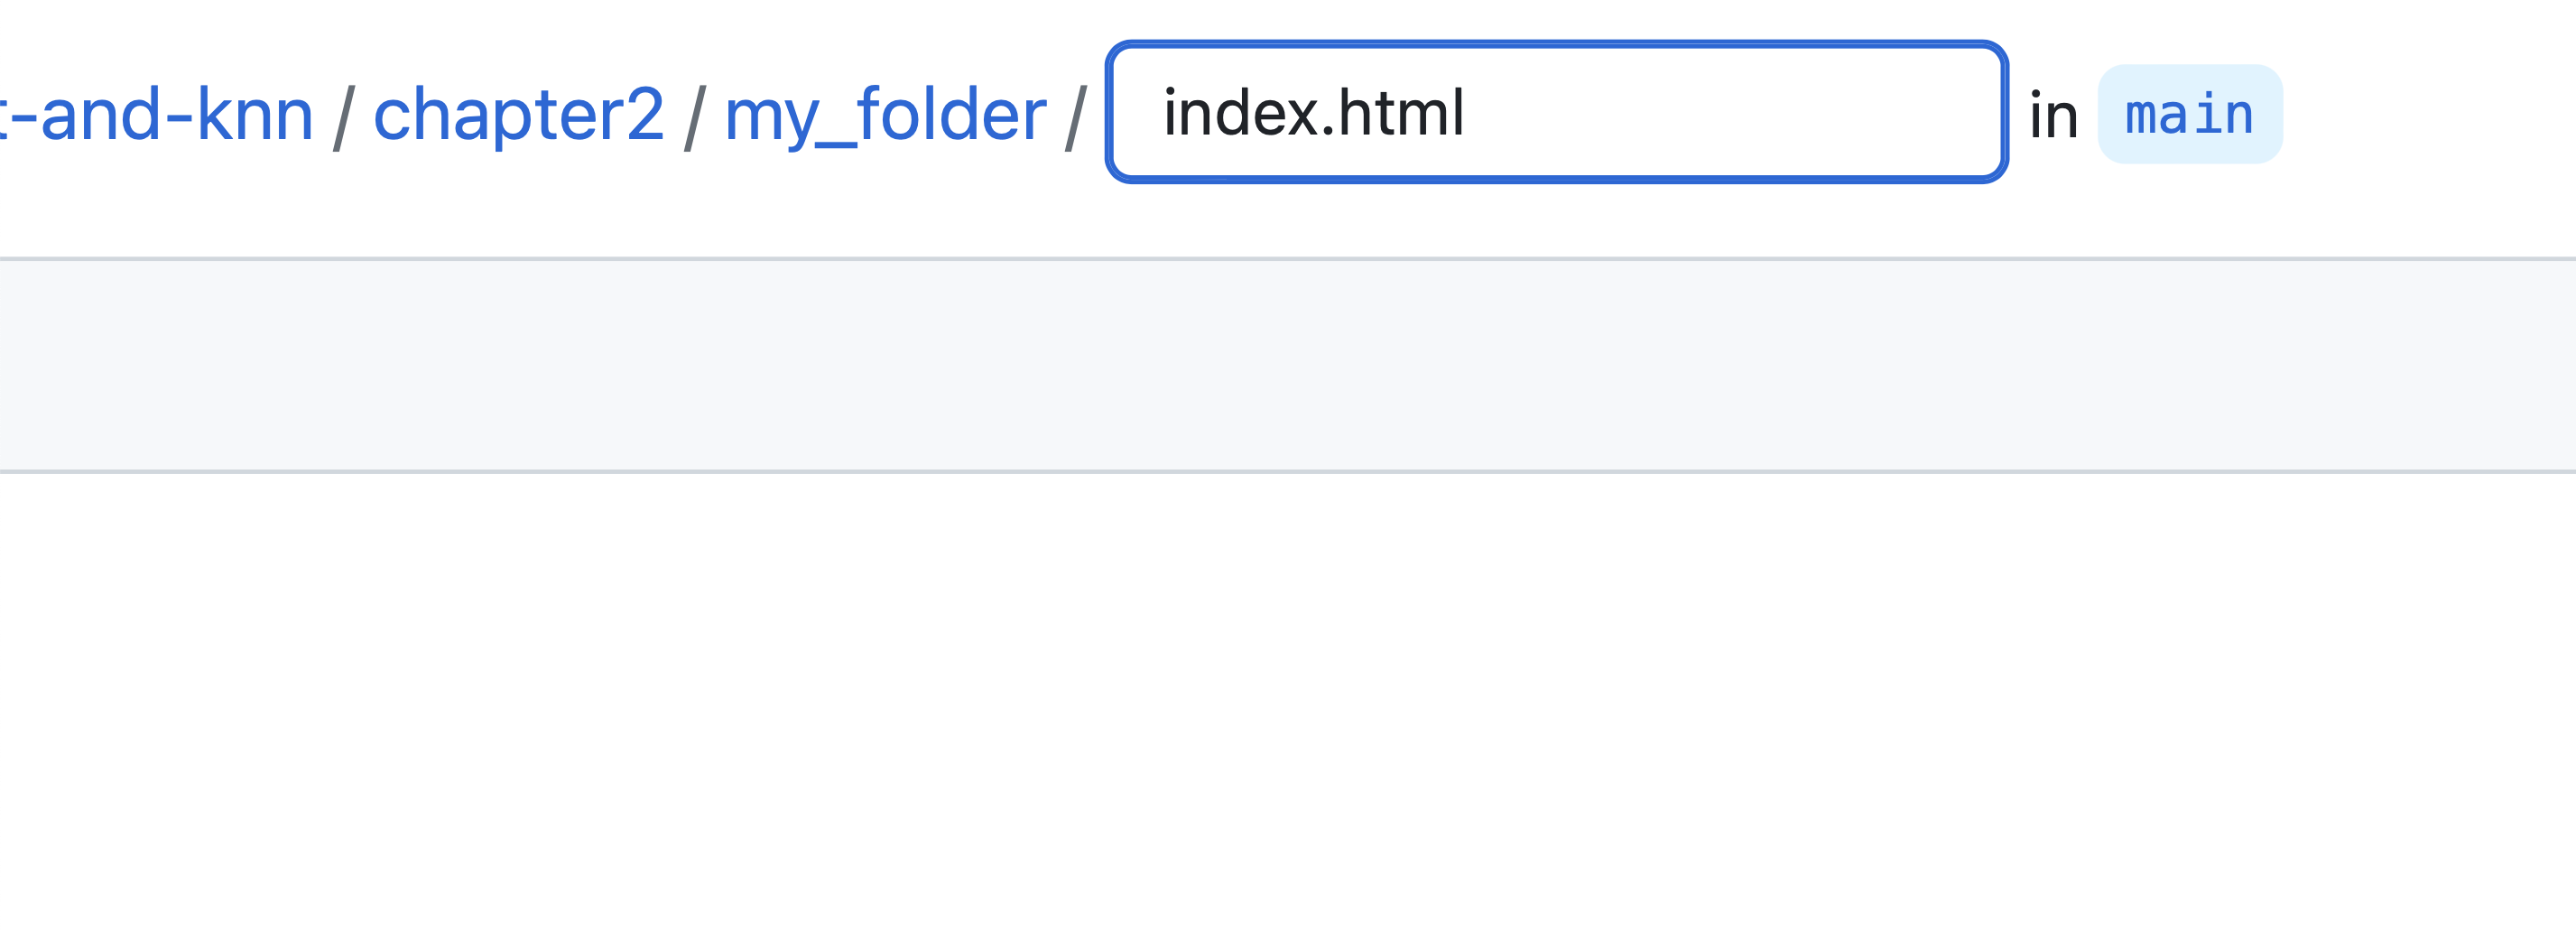
The below figure shows the folder is created and followed by the file "index.html". You use the forward slash to indicate the end of the folder name and the beginning of the file name. You can also add your code or text in the blank canvas area below the name.
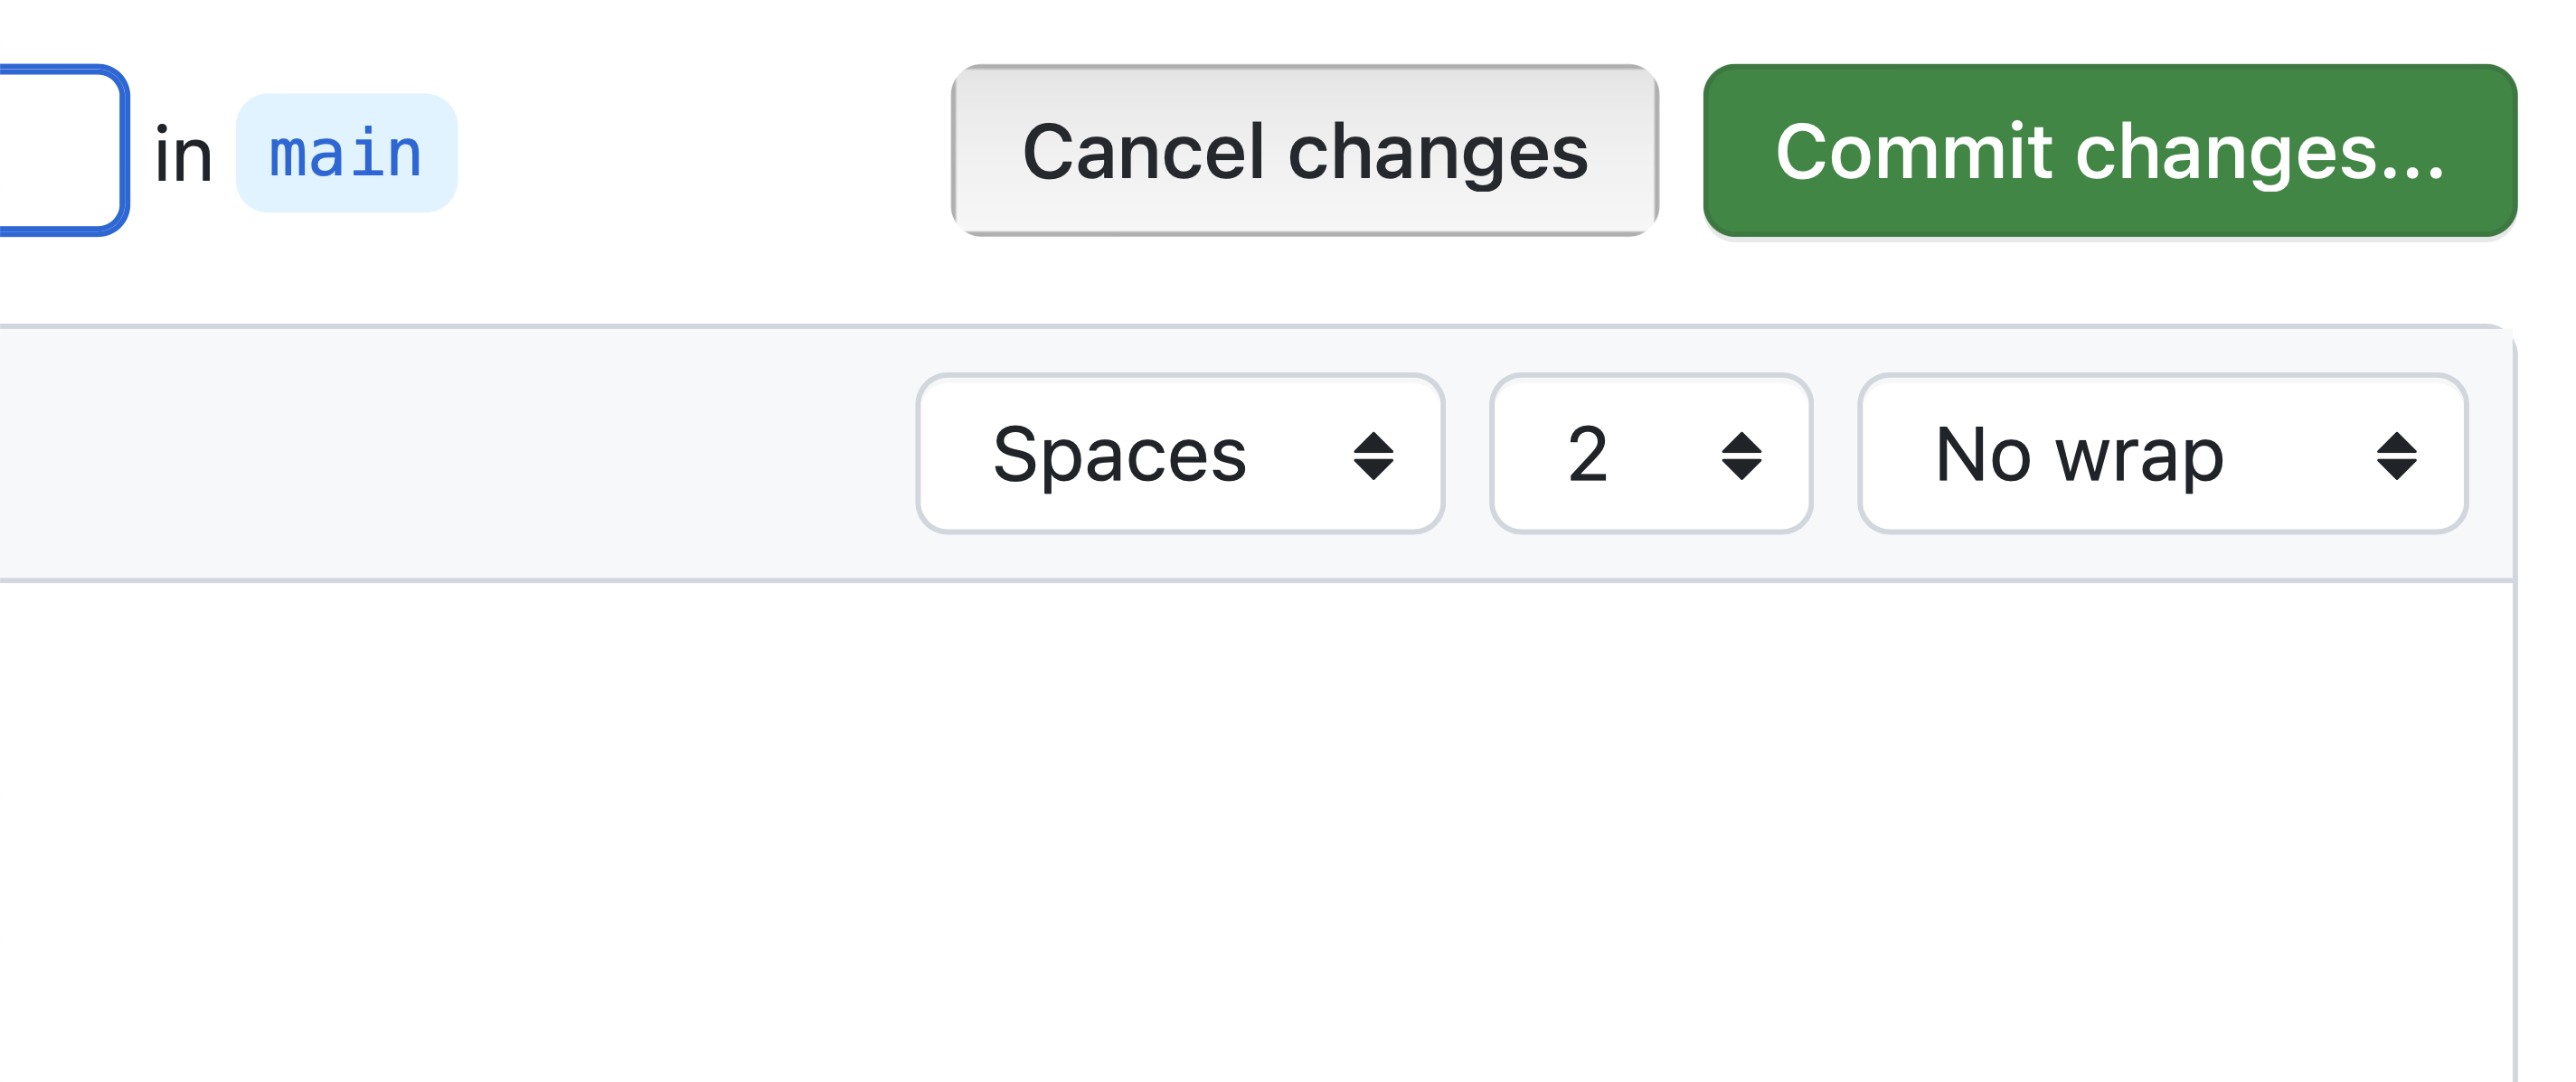
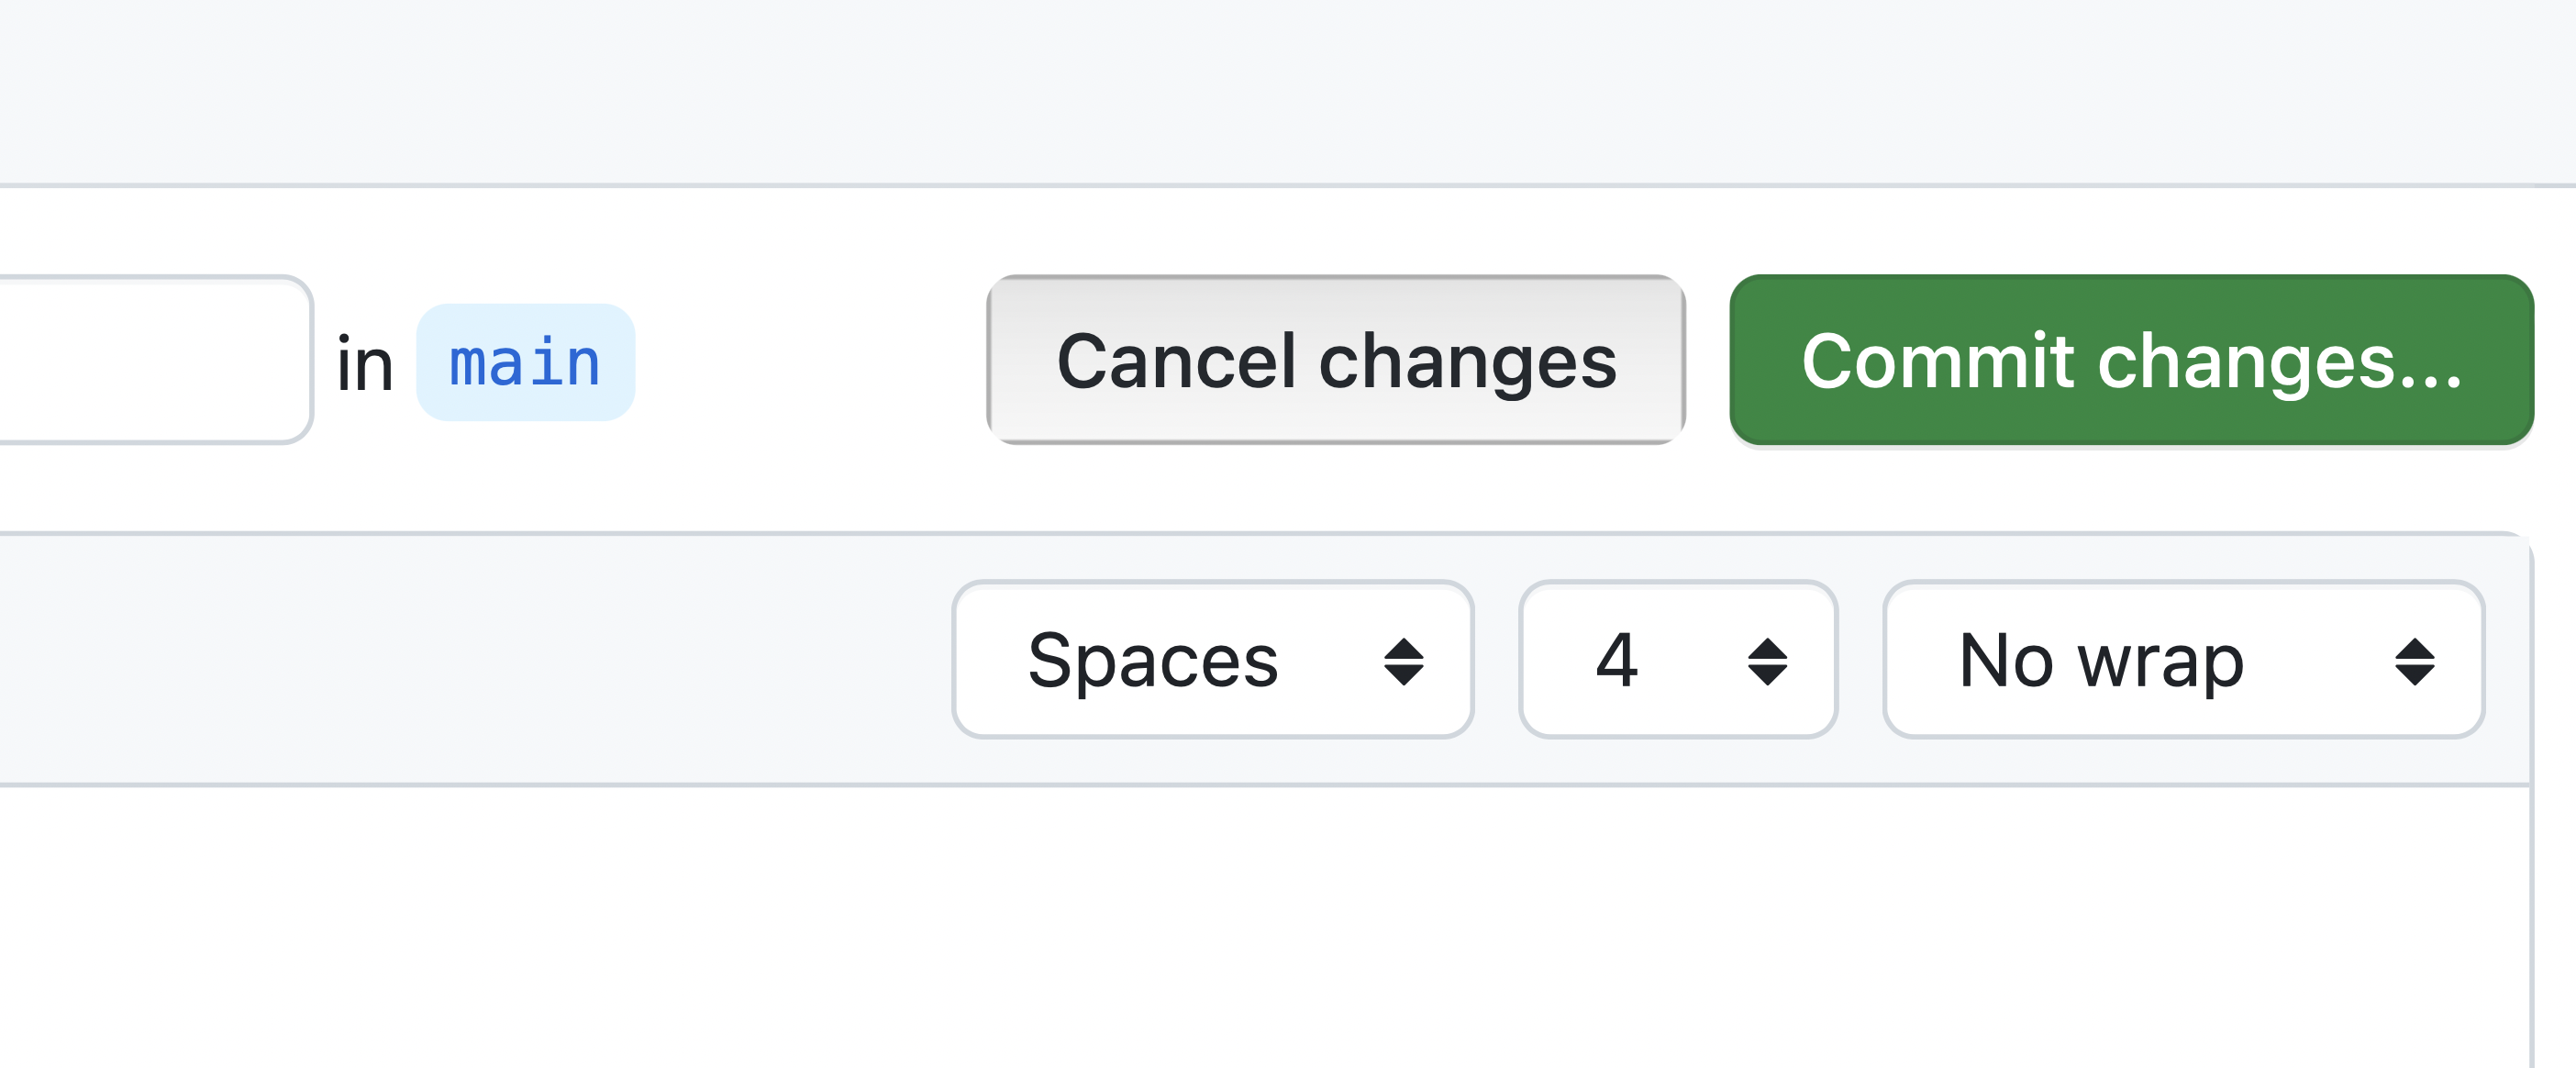
Finally, click the green button to commit the changes. Commit is the terminology to update your code repo.
Now, assuming that you have created the file, you can come back to modify it by click the file and then clicking the pencil button on the upper right hand corner as can be seen in the figure below.
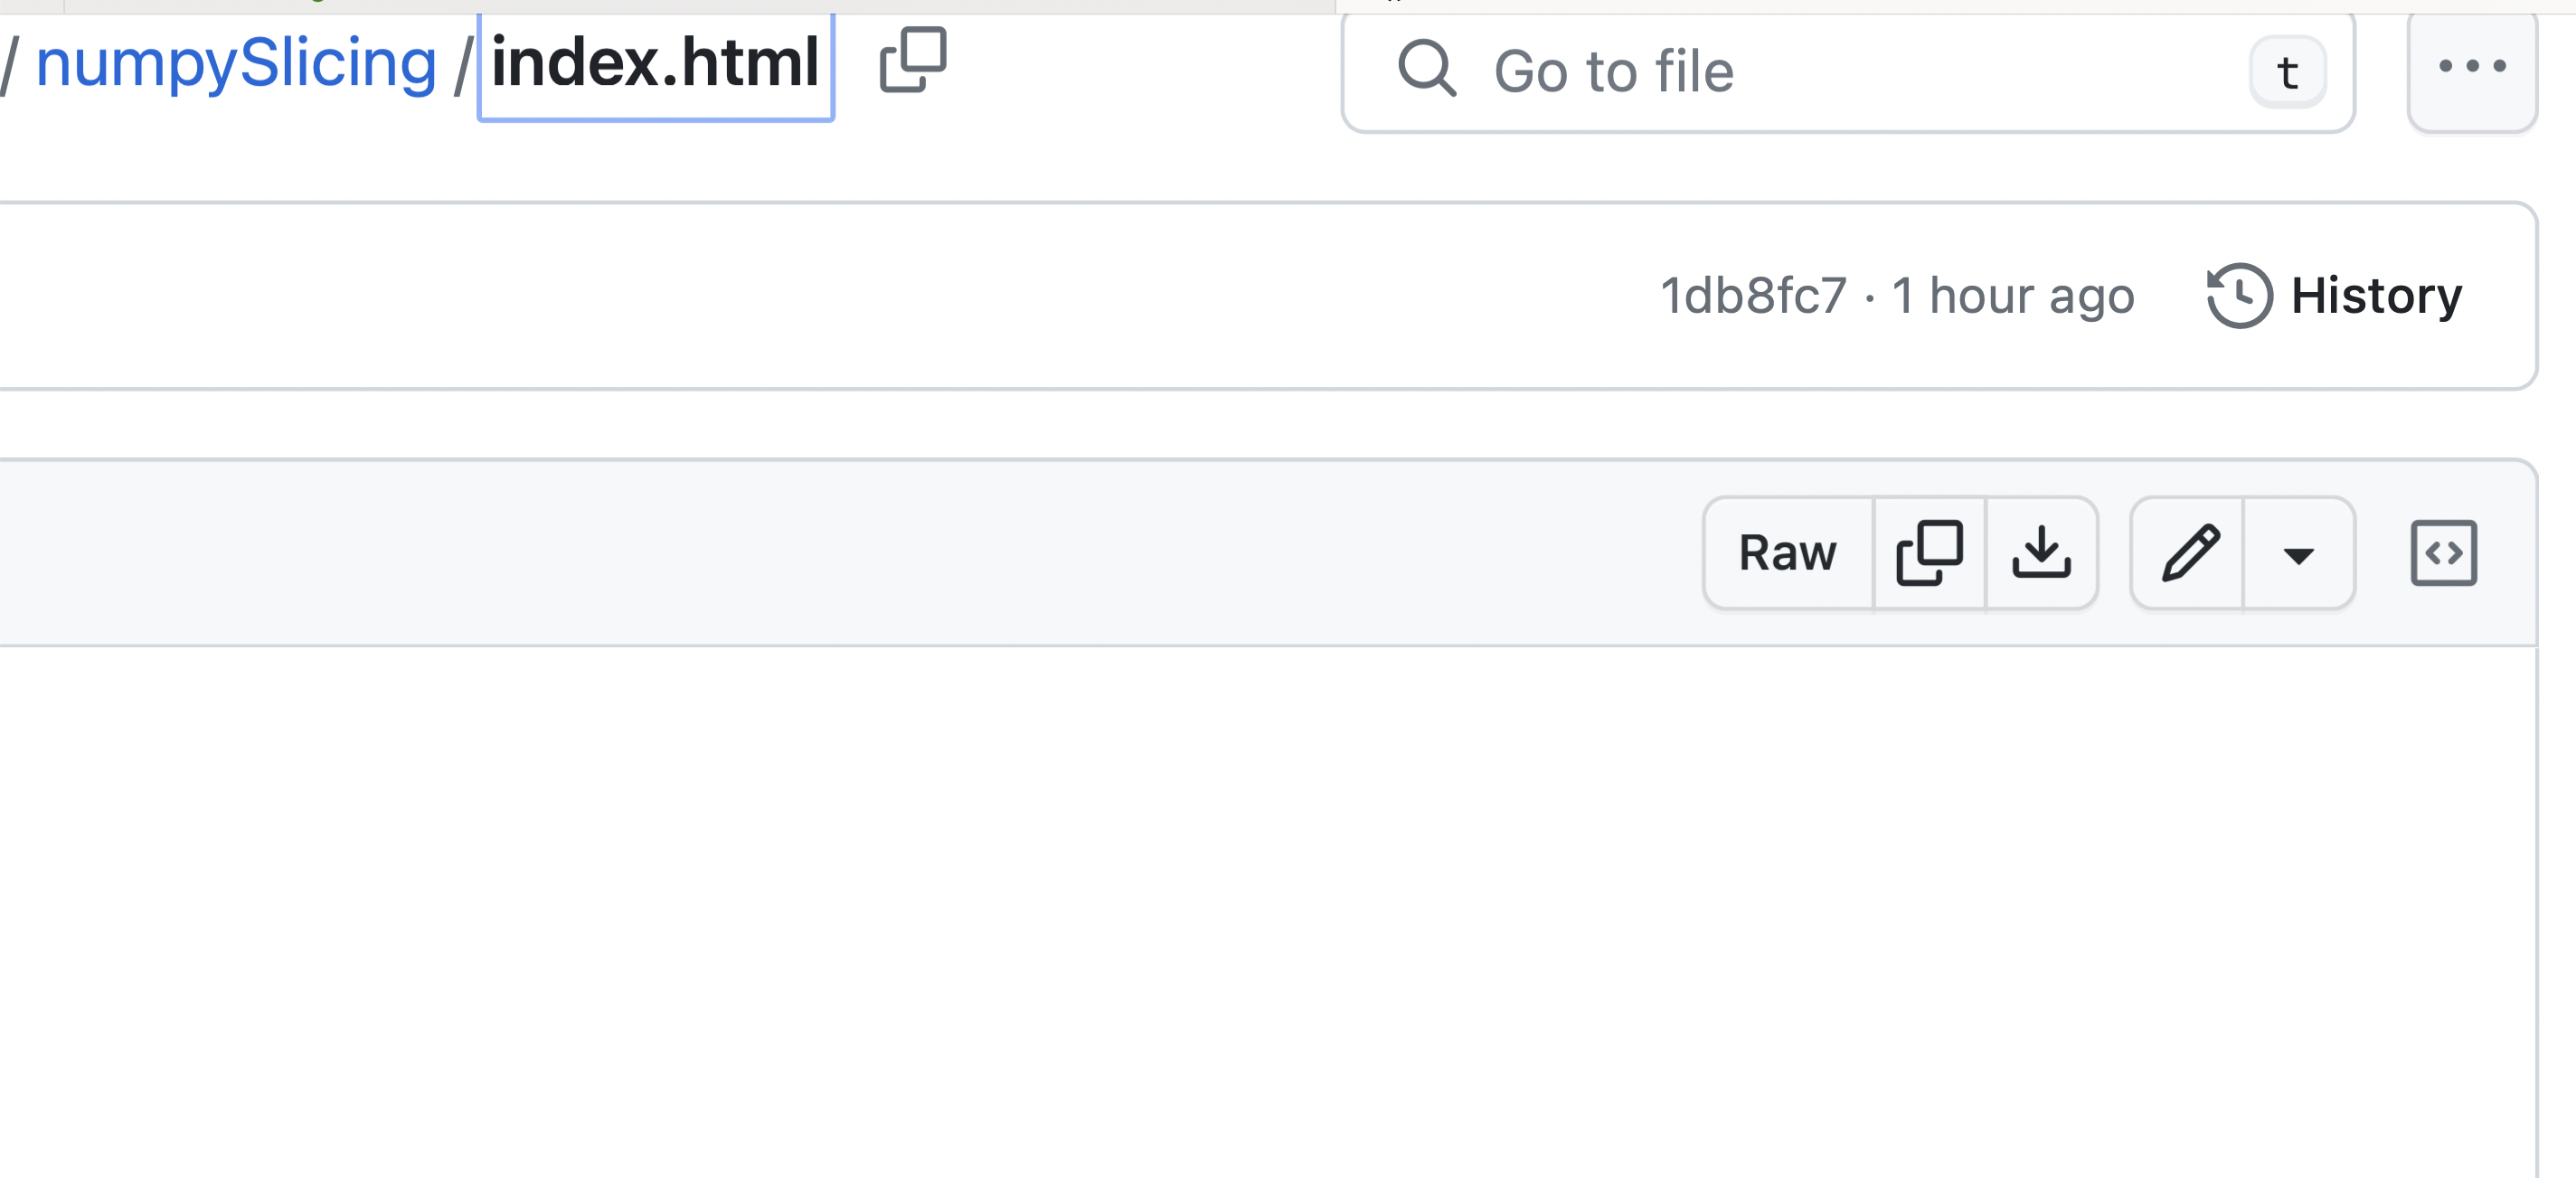
This opens the white canvas and you can edit your code. Once done, click the green button to commit your changes.
In the next section I will describe GitHub Pages.
Configuring GitHub Pages
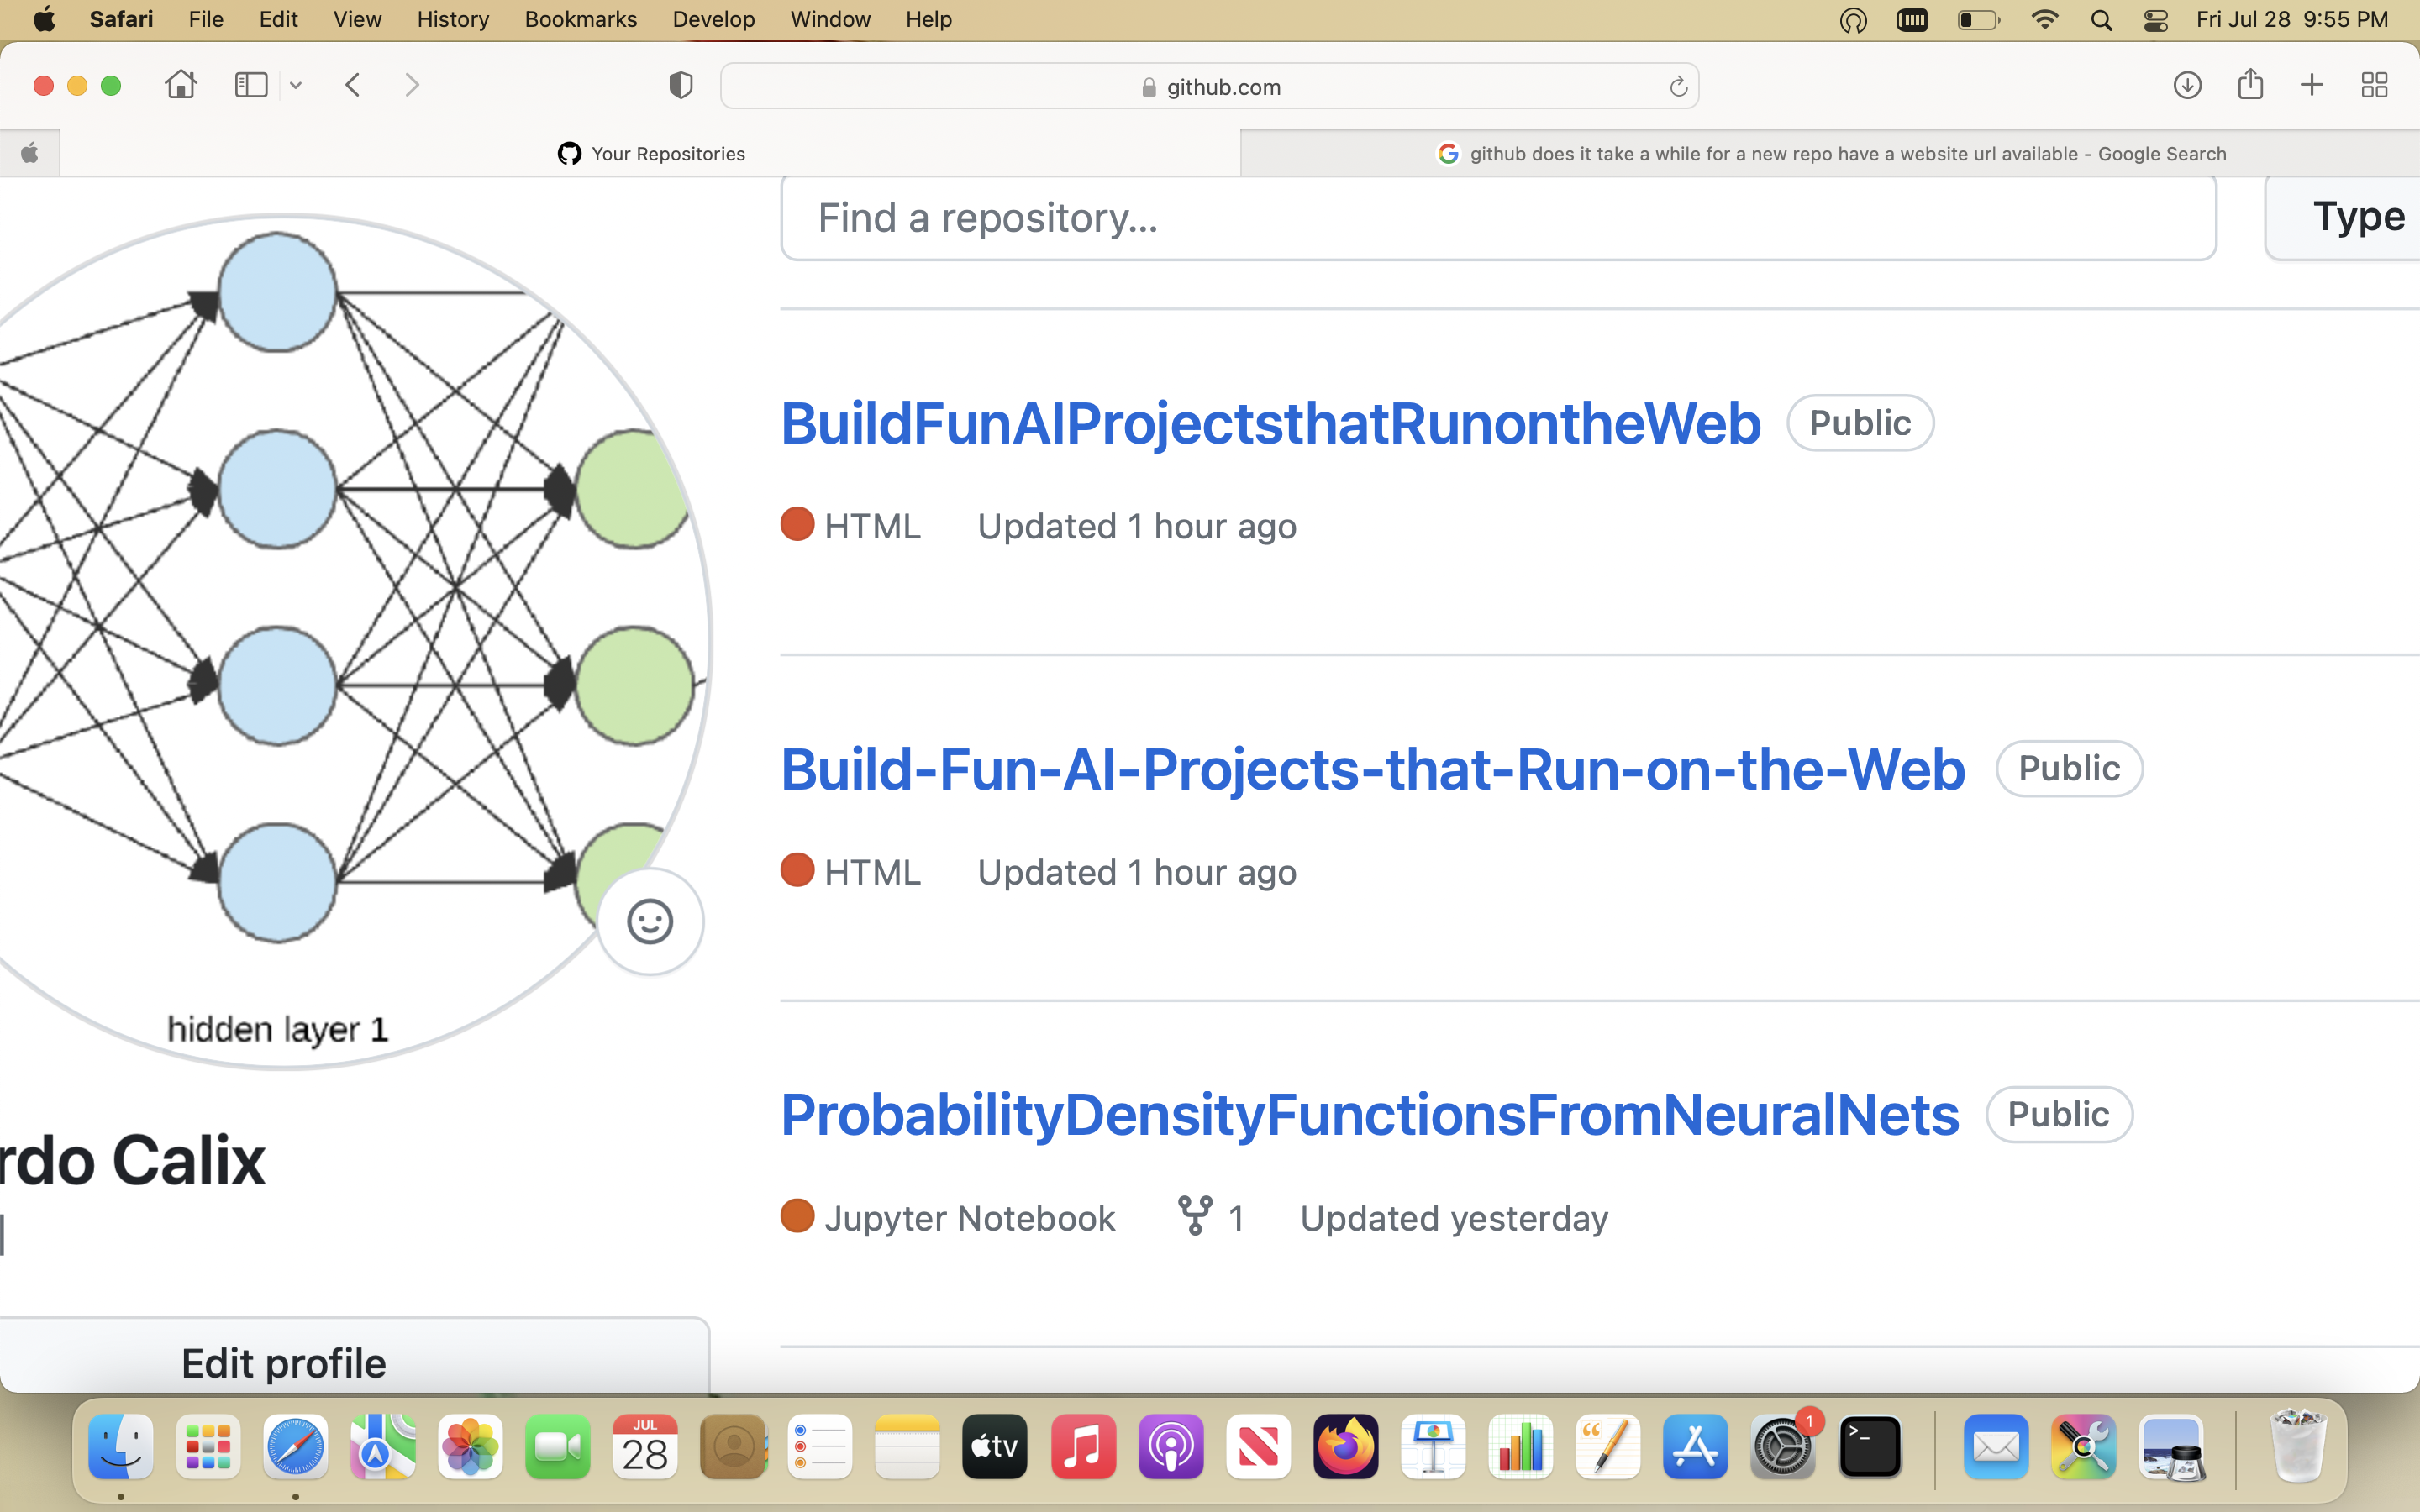
In this section we will learn how to configure GitHub Pages. This will allow our HTML files with PyScript to be found on the internet using regular urls. Usually, the url is just your GitHub user name followed by github.io followed by the full path to your repo and your html files. To start configuring Pages, select your repo. In the image below you can see my repo for this book series. Click it.
After selecting the repo, go to the upper right hand corner and click on settings. You need to be signed in to do all of this. This will take you to a new page where you can find the link to Pages.
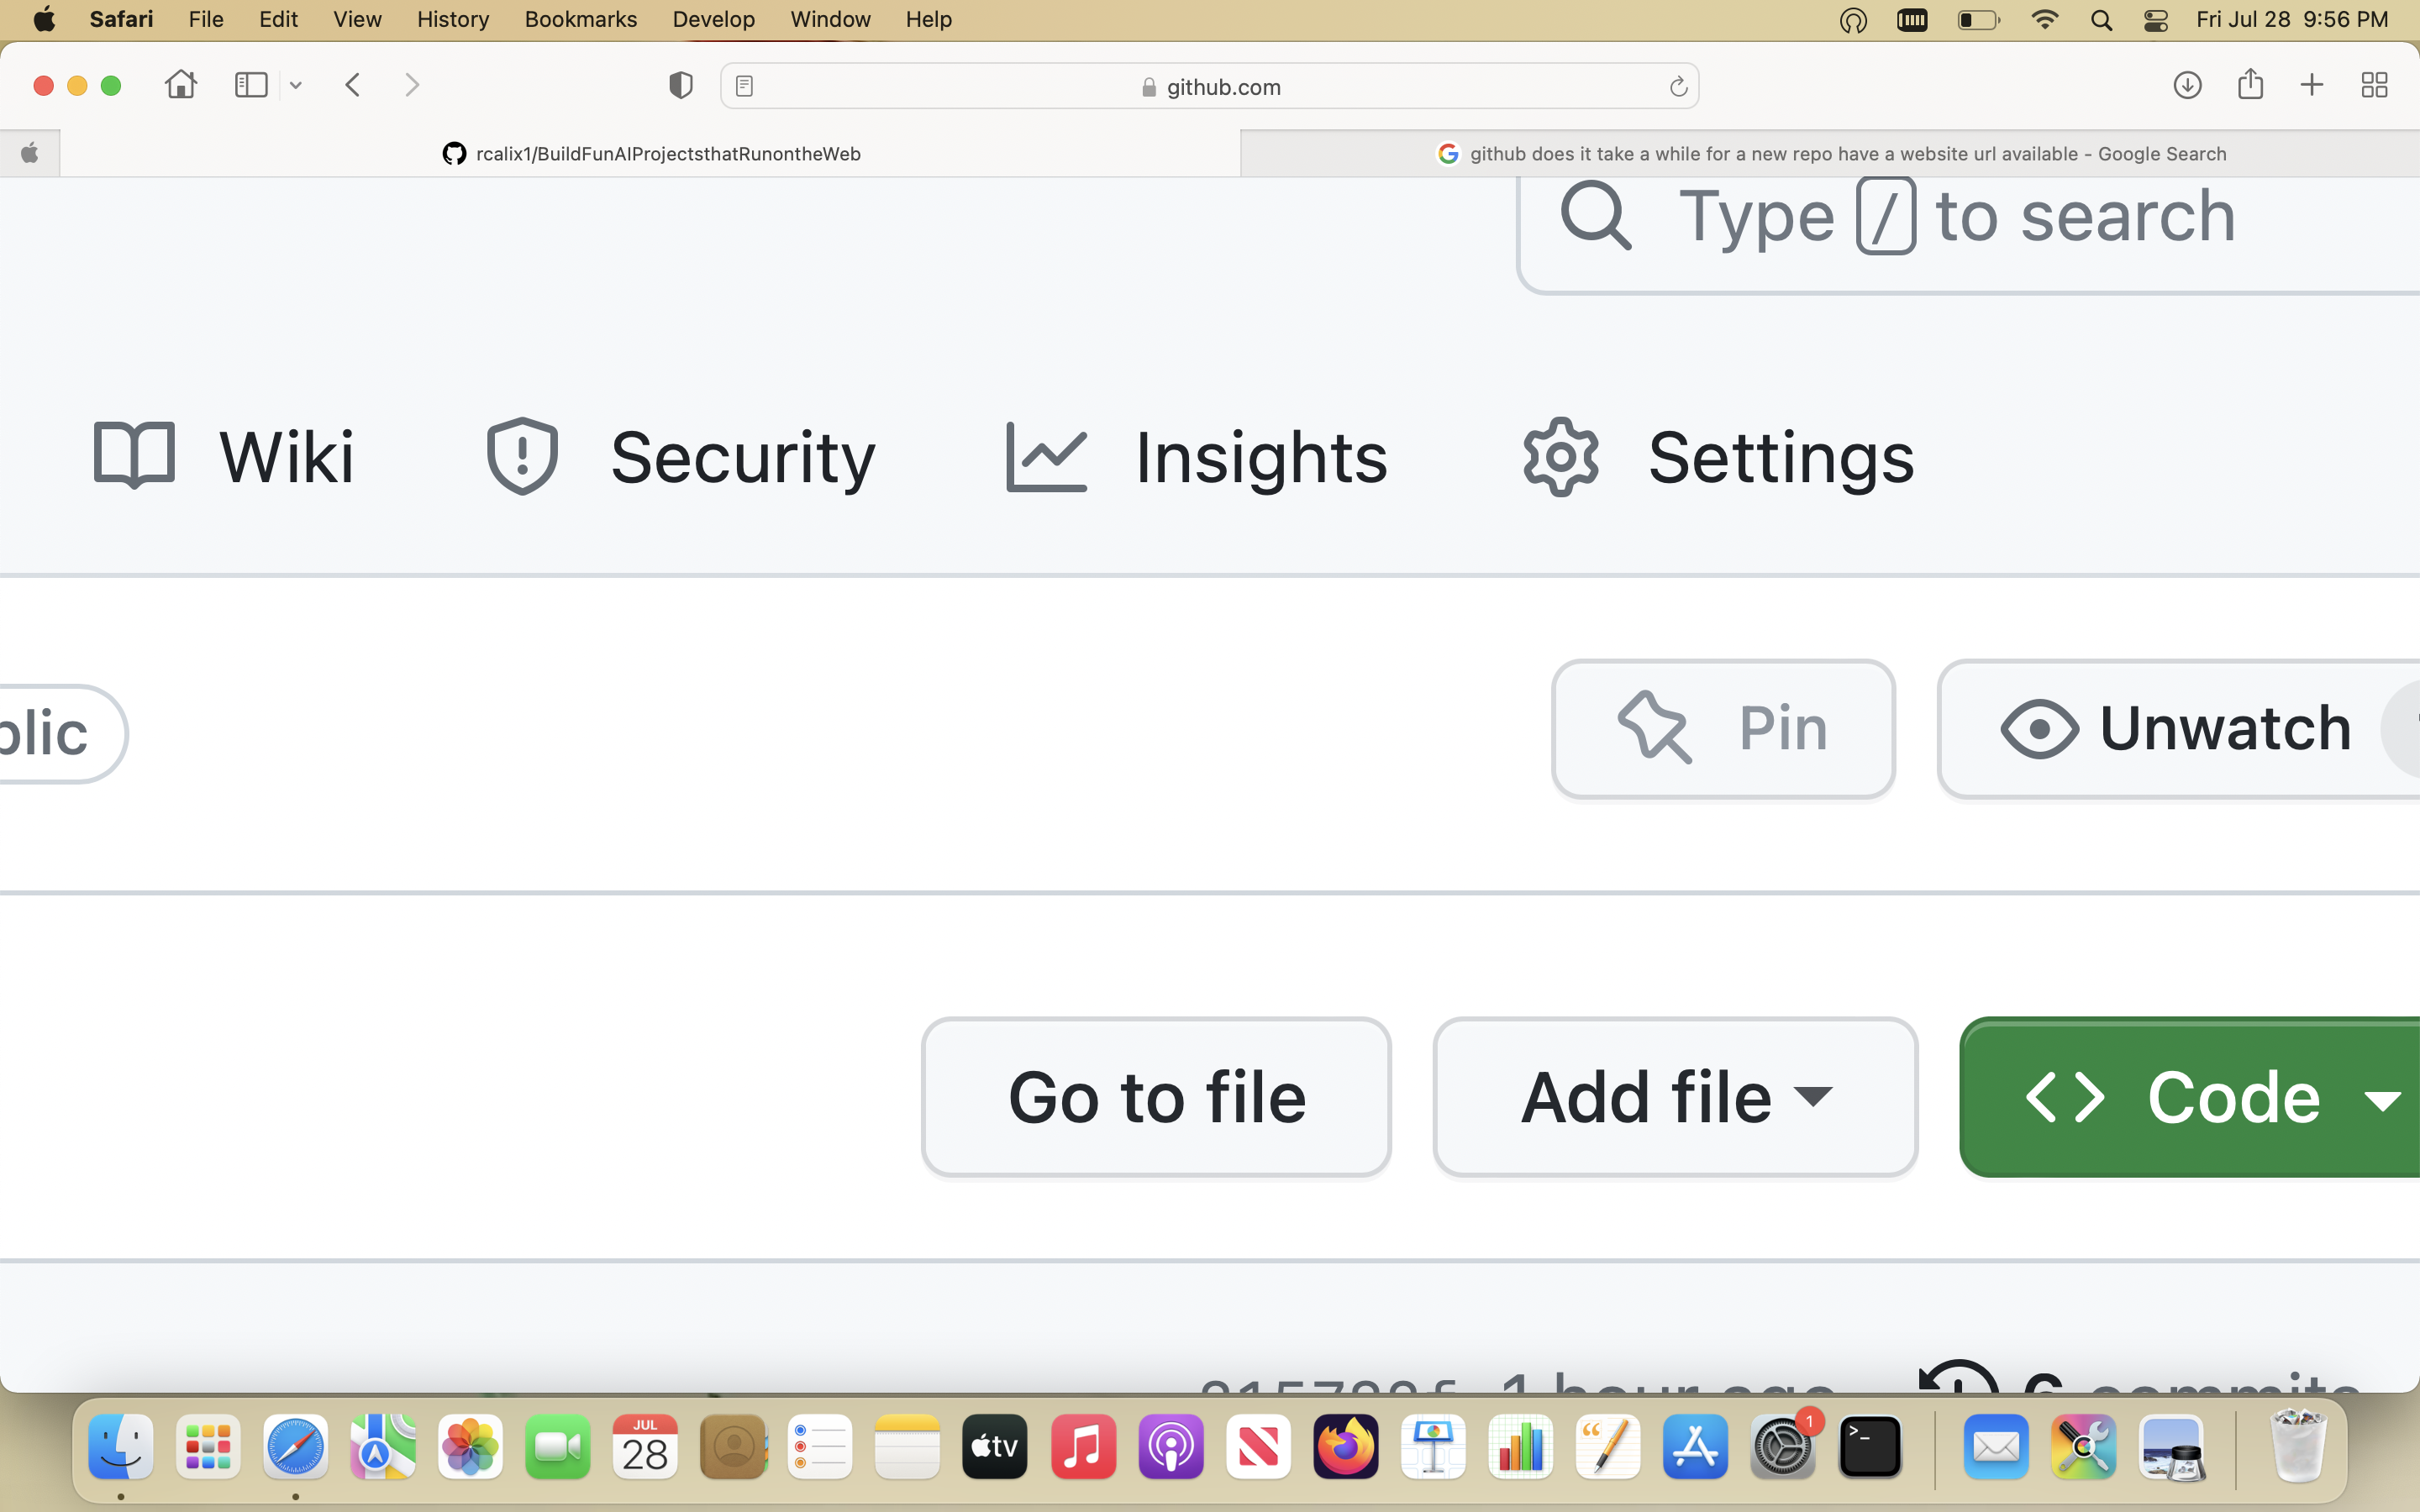
Now look for a link called "Pages" as can be seen in the image below. It is usually in the left side of the page. Click it.

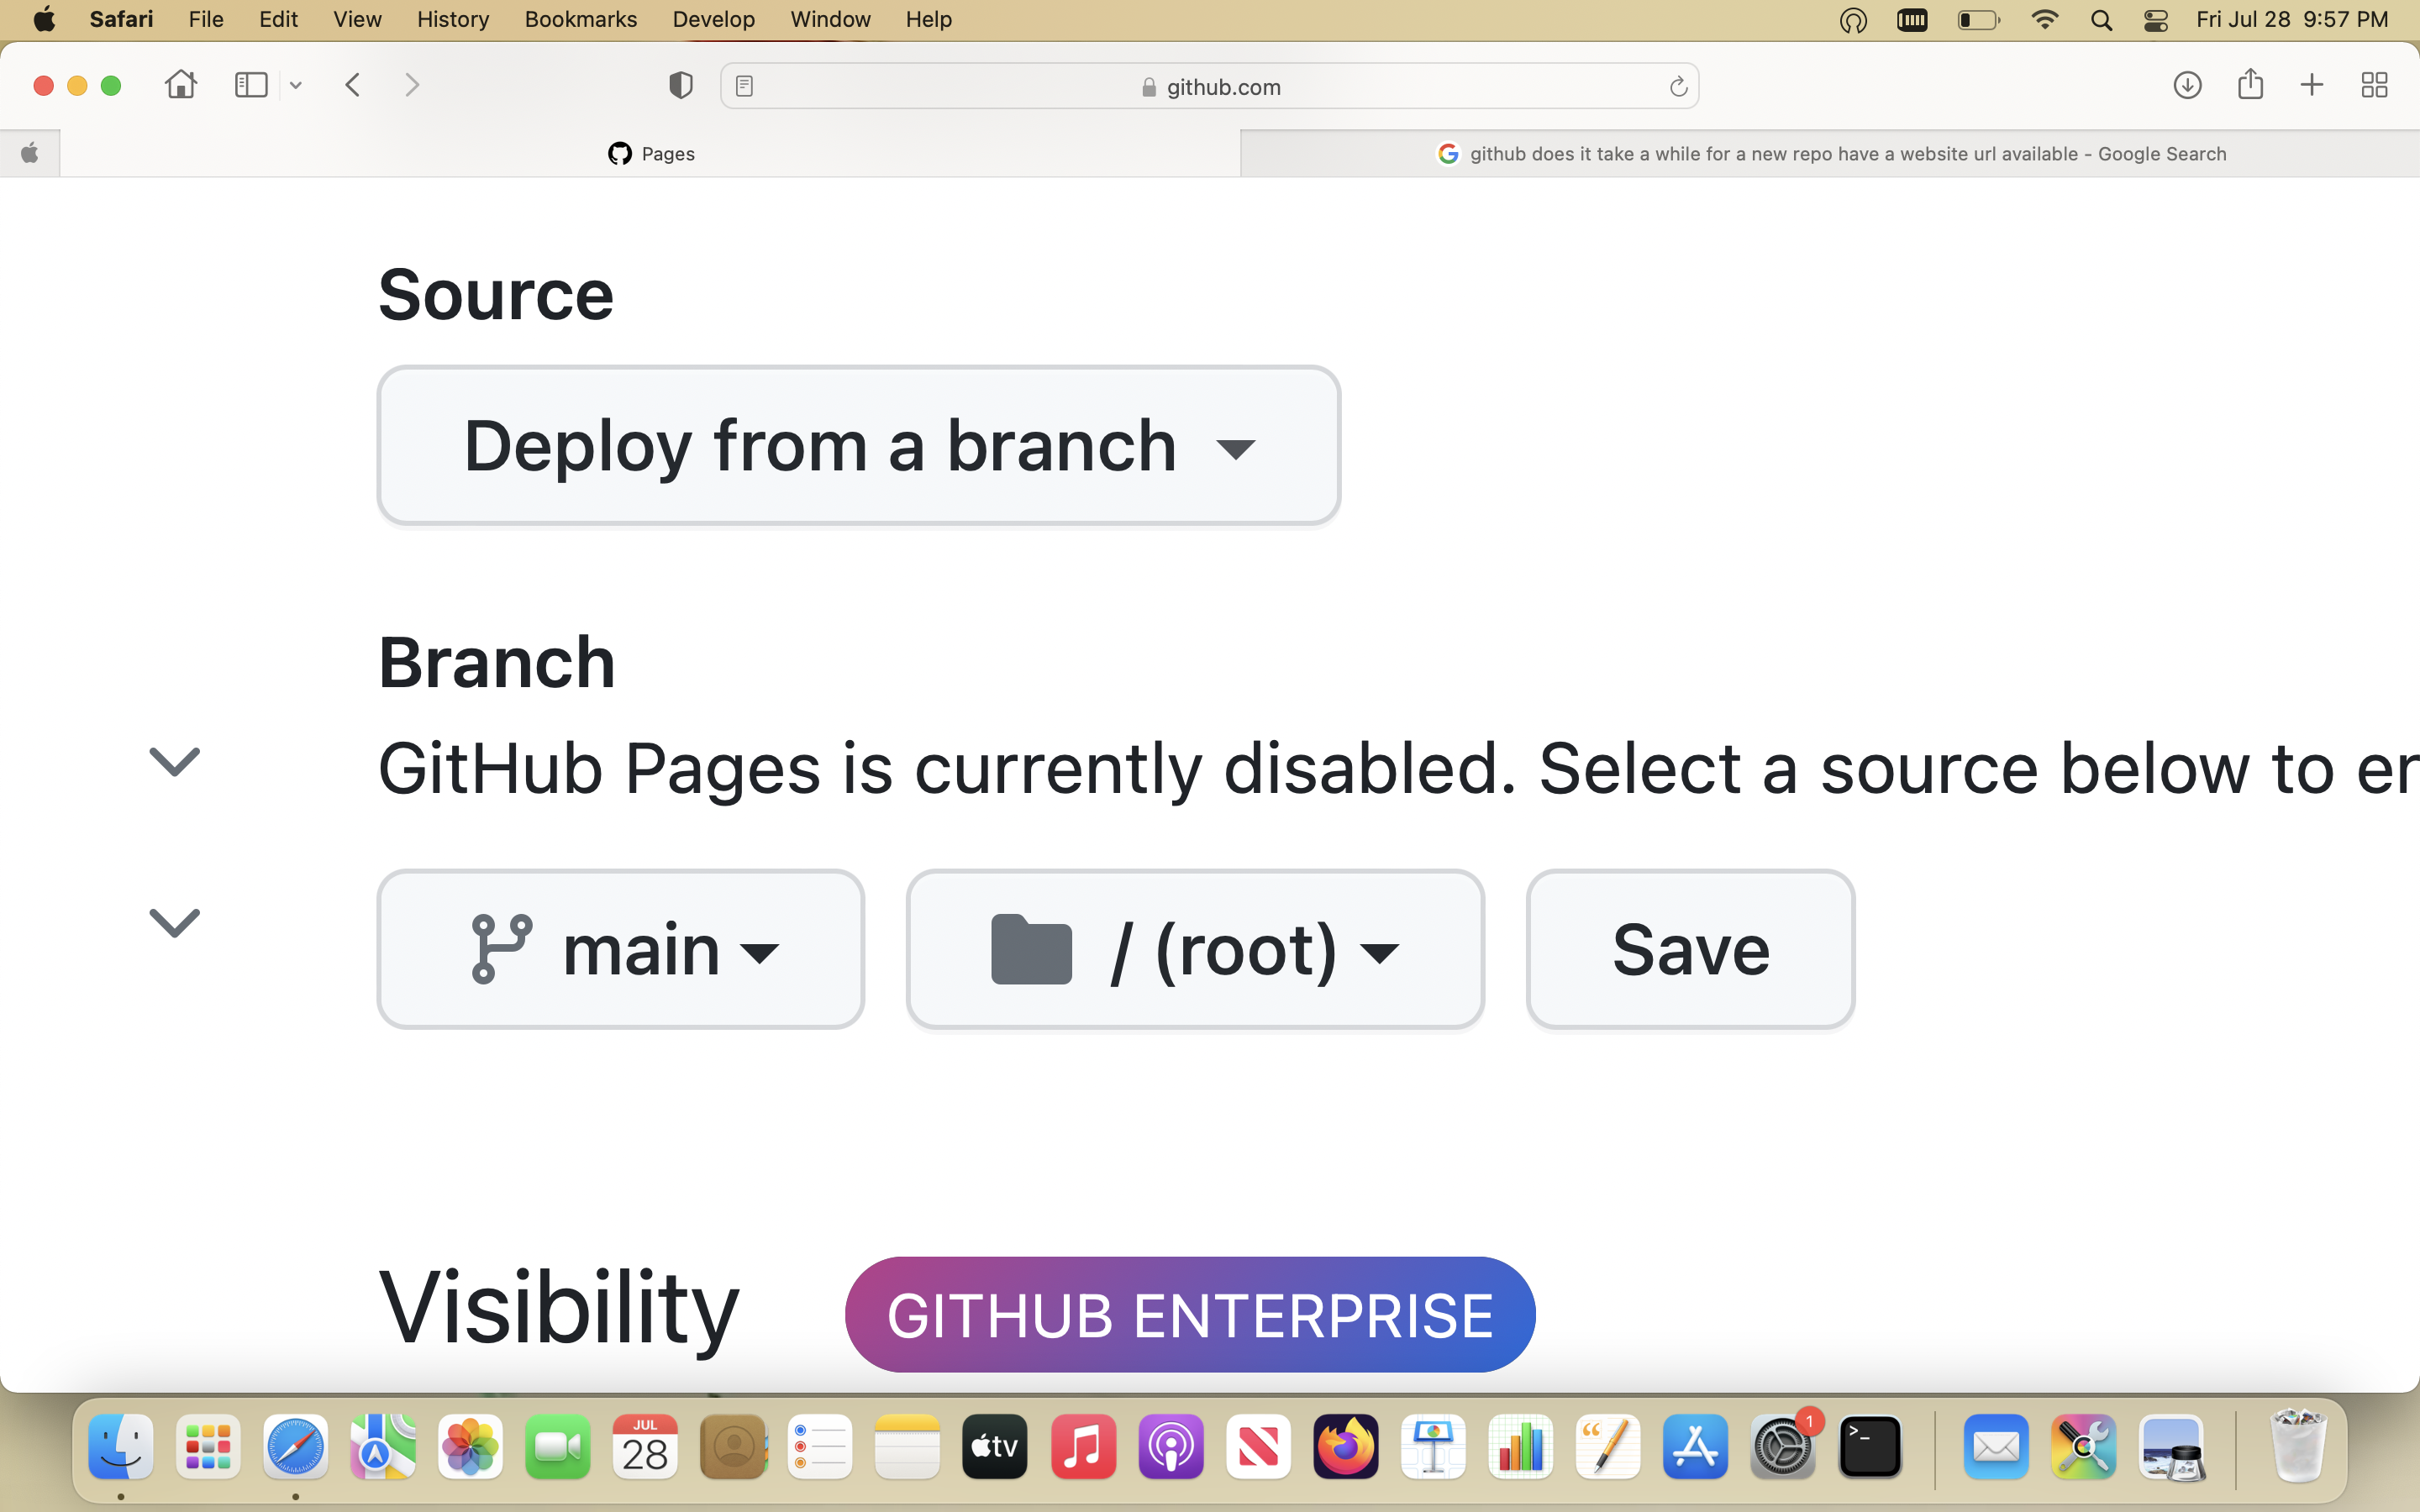
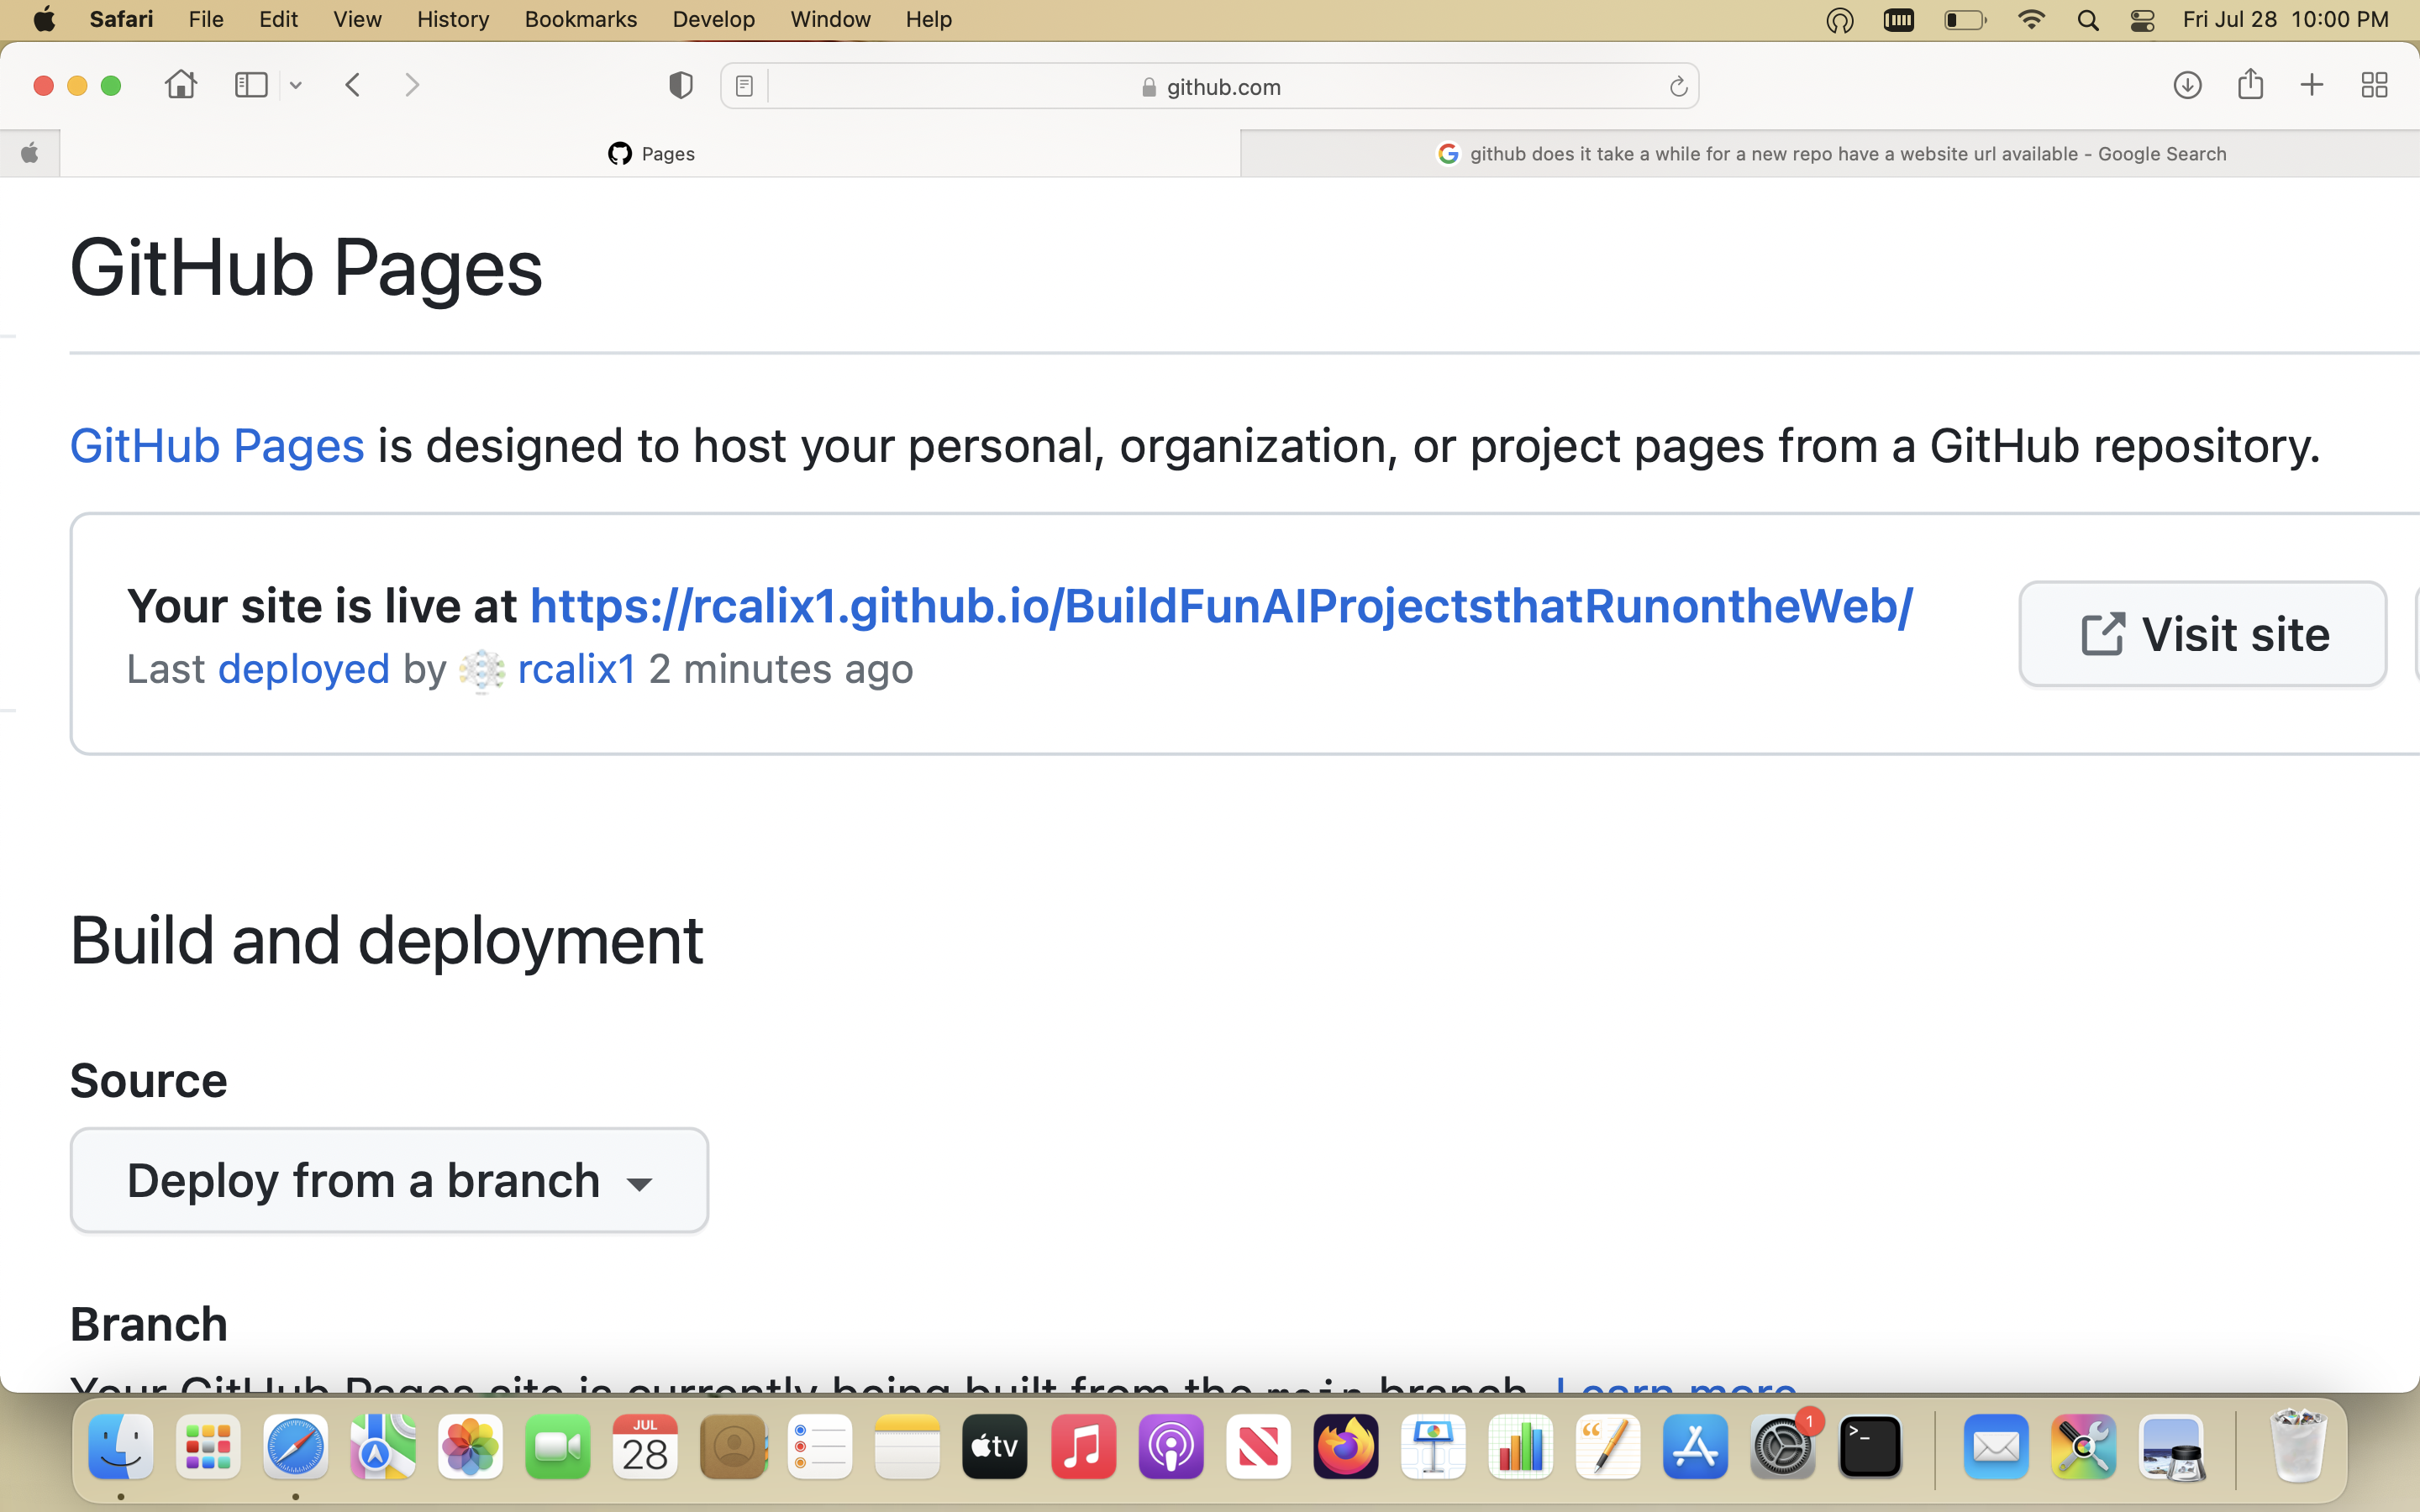
Once in the GitHub Pages page, set all drop downs to look like the screen shot below. Basically, deploy from a branch and set to main. Click "save". This process may take a few seconds. In general, Pages is not always instantaneous. Sometimes you load or update an HTML file and it takes 10 minutes for the change to take effect. Also, HTML files will not run until GitHub Pages is configured.
Your screen should look like this and you should have a url for your account similar to the figure below. What I like to do after getting the url is to create a README.md file and add the url there. That way you can just click on the link and you do not have to remember it.
This should conclude our GitHub discussion.
HTML
HTML is what makes the internet run. HTML stands for Hyper Text Markup Language and it was invented at the dawn of the internet. It has proven to be very versatile and useful. You use it to create web pages with nice buttons and text boxes. I will not cover all of HTML of course and instead only cover the parts required to complete this simple project. The basic principle in HTML is that of encapsulation. You say this is an HTML document by using a pair of open and close HTML tags. Closing tags are the ones that have the forward slash before the keyword. HTML code looks like this:
Those are in fact the tags that surround everything else. HTML tags can encapsulate many other types of tags but the 2 main tags are the HEAD tags and the BODY tags. HEAD tags are usually for configurations, styles, or functions you can call. BODY tags are for adding elements to your site such as textboxes, images, buttons, and many, many other things.
JavaScript
Whereas HTML is static, JavaScript is dynamic. What that means is that JavaScript runs on the browser dynamically and can be used to dynamically change a website. We actually will not use a lot of JavaScript in this project since we will be using PyScript instead. To use JavaScript we usually include a new set of tags in our HTML code. The tags are "script" and "/script" like in the listing below.
PyScript
As I previously described, PyScript (\babelEN{\cite{pyscriptref}}) is like JavaScript but for running Python code on the web browser. It consists of a set of tags
that we use to enclose Python code. It supports powerful Python libraries like Numpy and Pandas. Wow! You can do a lot with these. JavaScript is its own very
powerful language and you can do a lot with it. Python is an amazing programming language but it was not made to run on web browsers like JavaScript. That is
why PyScript has been created. It allows you to write the same Python code but on the browser as long as it is enclosed in PyScript tags. So, PyScript is not a
new programming language to learn. If you already know Python, then you will be able to unleash all your knowledge in the browser very quickly. If you do not know
Python, do not worry. It is super easy to learn. There are many, many tutorials on line. I even have some videos on learning Python in my YouTube channel. So, you can
also try those.
The PyScript configuration tags are used to list libraries like Numpy and Pandas. The following are the PyScript configuration tags:
And the following tags are the heart of it all. They are the PyScript tags where you write your actual Python code. They are as follows:
The following code listing provides an example of their usage.
Python
Python is a programming language. It is used quite extensively for data science, AI, and machine learning. But Python does not run on a web browser. So, with Python alone, we cannot deploy our AI models on a browser. That is why we need PyScript. PyScript allows us to write Python code but inside HTML code that runs on a browser. In the next figure, I show how to add simple Python code inside PyScript tags. Do not worry about the Python code for now. In chapter 2, we will do many examples using Python and Numpy with PyScript before we actually build our Project in chapter 3. So, you will get some additional practice with just Python and Numpy. The following code listing shows an example of using Python with PyScript. With this simple Python code, we create a variable, a Python list, and print the word "hello".
Numpy
I was very, very impressed when I first learned that you can run Numpy in PyScript. Numpy is the math and linear algebra library for Python. You can do a lot of physics
and math with Numpy. It is very efficient and runs fast. This is what sold me on PyScript. Before getting to KNN in chapter 3, I will do a few fun examples with
Numpy and PyScript in chapter 2 just to illustrate its almost infinite power. Okay, maybe not infinite, but I love Numpy :)
The code listing below is similar to previous examples. We add Numpy instructions but we need to invoke the Numpy library first. This can be seen in the code listing.
The following statement is used to invoke libraries in Python.
We create the object \textbf{np} which is what we reference every time we want to use Numpy. Here, the Python list is now converted to a Numpy array and then printed. Later we will see that instead of the \textbf{print} statement, we will want to display Python data with HTML tags such as the \textbf{div} tag.
Pandas
If Numpy was the cake, then Pandas was the icing on the cake. I really like Pandas as well for data science. It is like having a very powerful Microsoft Excel for manipulating your data. We will mostly use it in this project to read in the data. However, in future volumes, you will no doubt see it again. I have not used too much Pandas in this book, or other libraries for that matter, as I wanted to keep things simple.
Data
The term machine learning means that the machine, in this case the computer through your browser, running an algorithm, needs to learn from something. So, here we
will need some data. AI models can use all kinds of data and future books in the series will show examples of other datasets; but for now, we will start with
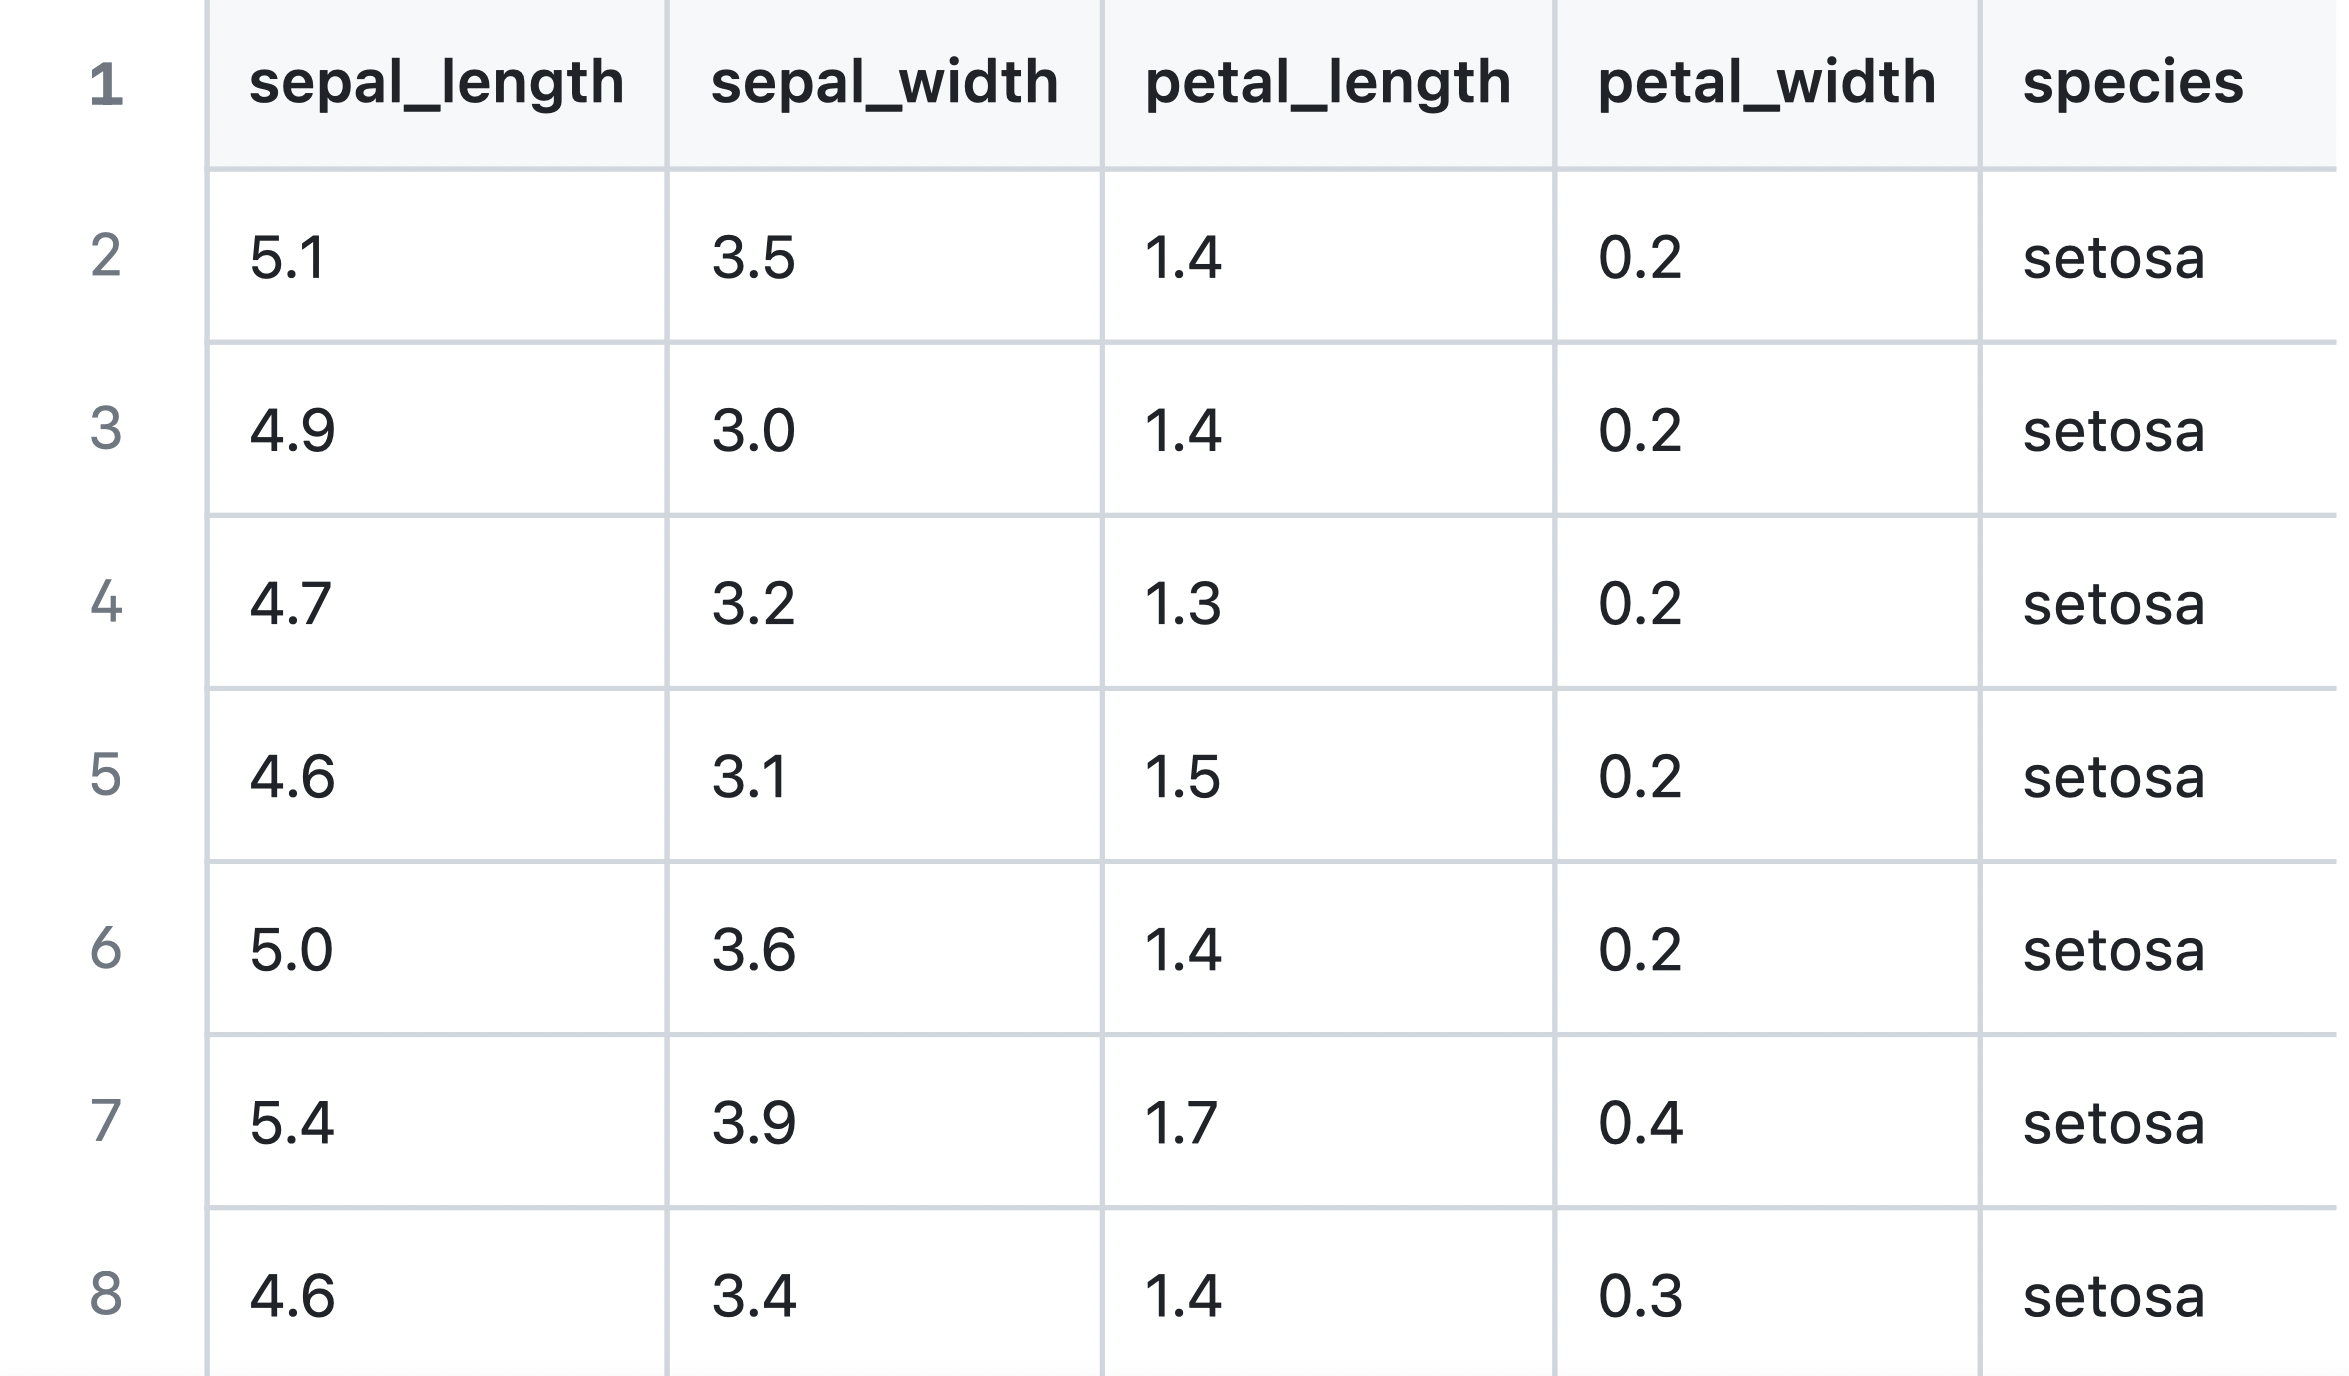
the classic which is Fisher's Iris Flower dataset (\babelEN{\cite{fisher}}).
This dataset includes 150 samples. Each sample is for a flower and it is represented by 4 characteristics of the flower. The 4 features are for the length and the
width of the sepals and petals, in centimeters, of each plant (in data science we can call them samples). There are three types (or classes) of plants which are
Setosa, Virginica, and Versicolor.
In machine learning, you spend a lot of time processing the data and this can be a difficult part of the process. But, that is also what you want to learn how to do. That is why we love Pandas and Numpy. They make this process so much more easy.
What is KNN anyway?
Finally, we get to KNN. KNN is the AI algorithm. In chapter 3, I will describe the algorithm itself with code and we will deploy it to the web. KNN stands for the K nearest neighbors algorithm. In essence, it is used for classification. Imagine a space where you have many balls. Some are soccer balls, others are baseballs, others are basketballs, tennis balls, etc. They are all floating in this space. Each ball is described by a specific set of characteristics called features. Some balls are smaller than others, etc. Some are greener than others. The main idea is that similar balls in this space will be closer to each other. Imagine all the bigger balls on the top left side of the space and all the smaller balls on the lower right side of the space as can be visualized in the figure below.
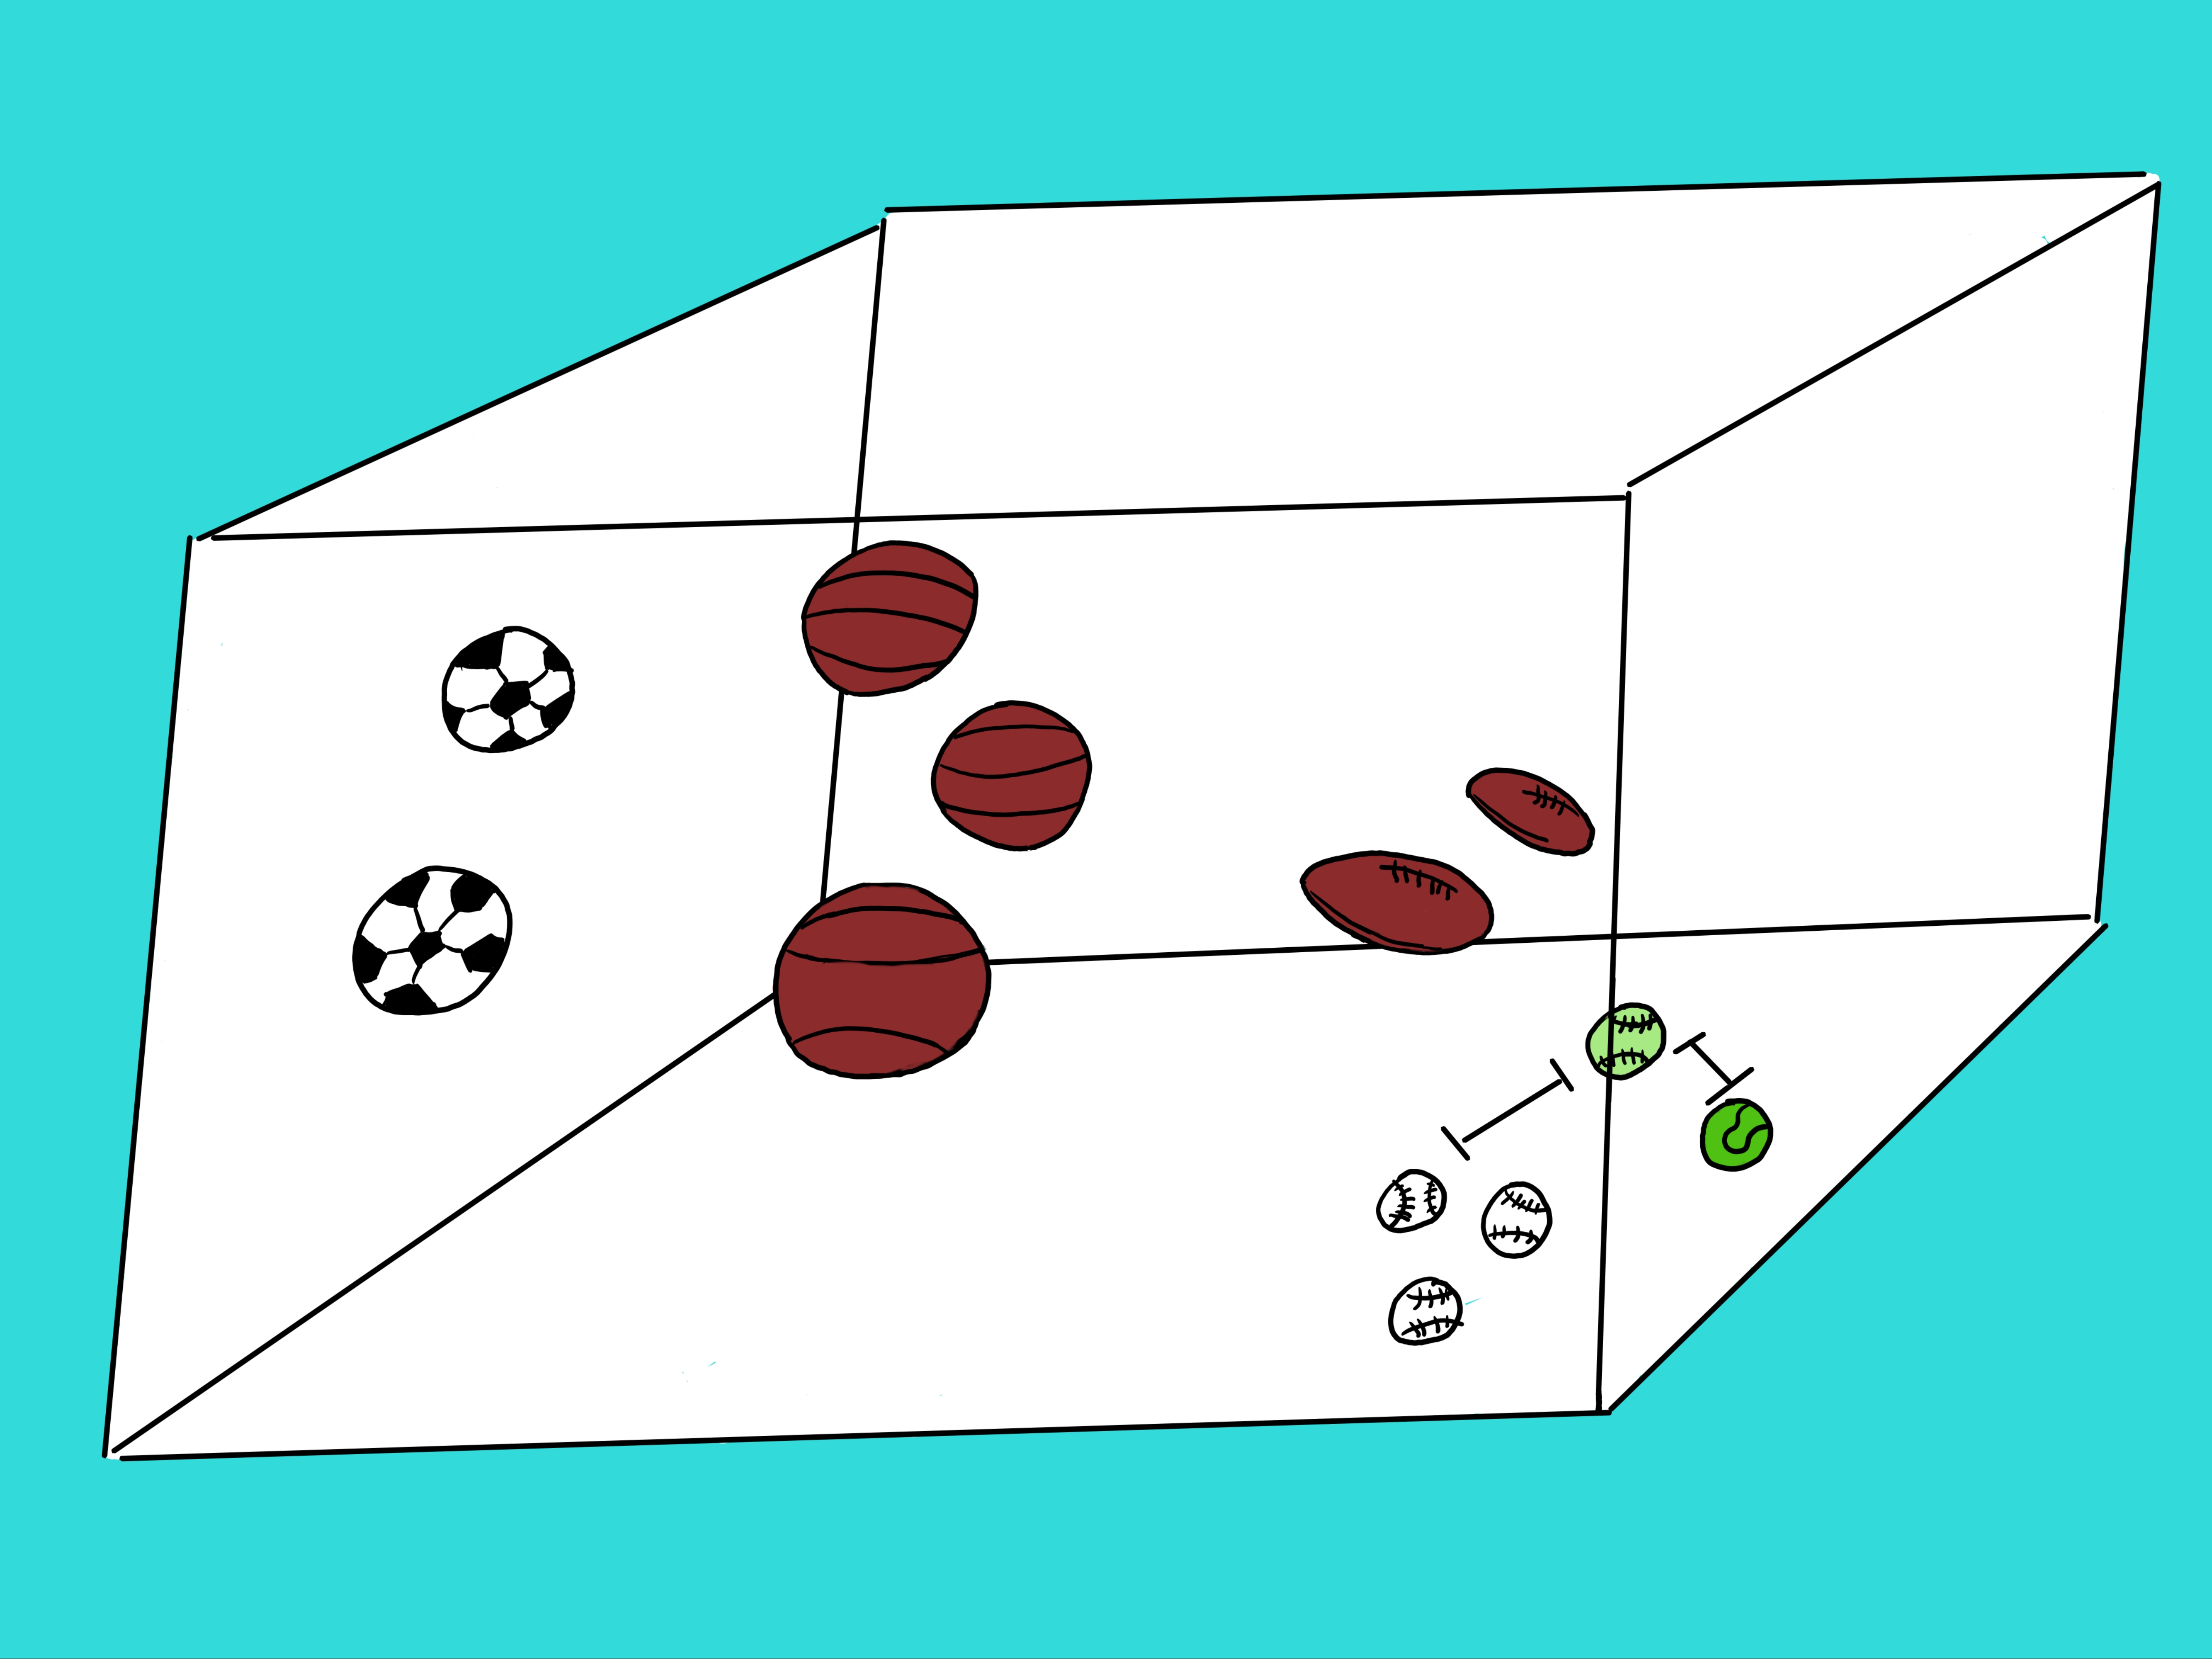
Now, when we add a new ball in this space, its features will force it to be closer to the balls that have similar features to it. This number of features
can be 2 or 3 or 10 or 784 or more. Our cubic space of balls in the figure only has 3 features or dimensions. But there is no limit to the number of
features or dimensions. The Iris dataset for instance would exist in a space of 4 dimensions. Even though we can't visualize it, the coding and math holds.
Think of each feature as an axis in this space. If we view the space of balls in the figure we immediately know what the ball is. But since AIs do not have
eyes (yet), they have to rely on other methods. In this case, KNN should solve this problem.
Look at the figure again. In the lower right hand corner of the space there are 3 white baseballs and one green tennis ball. And then there is an odd looking
ball with the shape of a baseball and the color of a tennis ball. What is it? That is what KNN tries to solve. Is this odd looking ball closer to green balls
or baseball shaped balls? The values of the features are what help KNN to solve this problem.
Okay, that is it for the theory and ideas behind KNN. Now let us introduce the AI project.
So, what will you build? For this first project book in the series, your final application (App) should look like this:
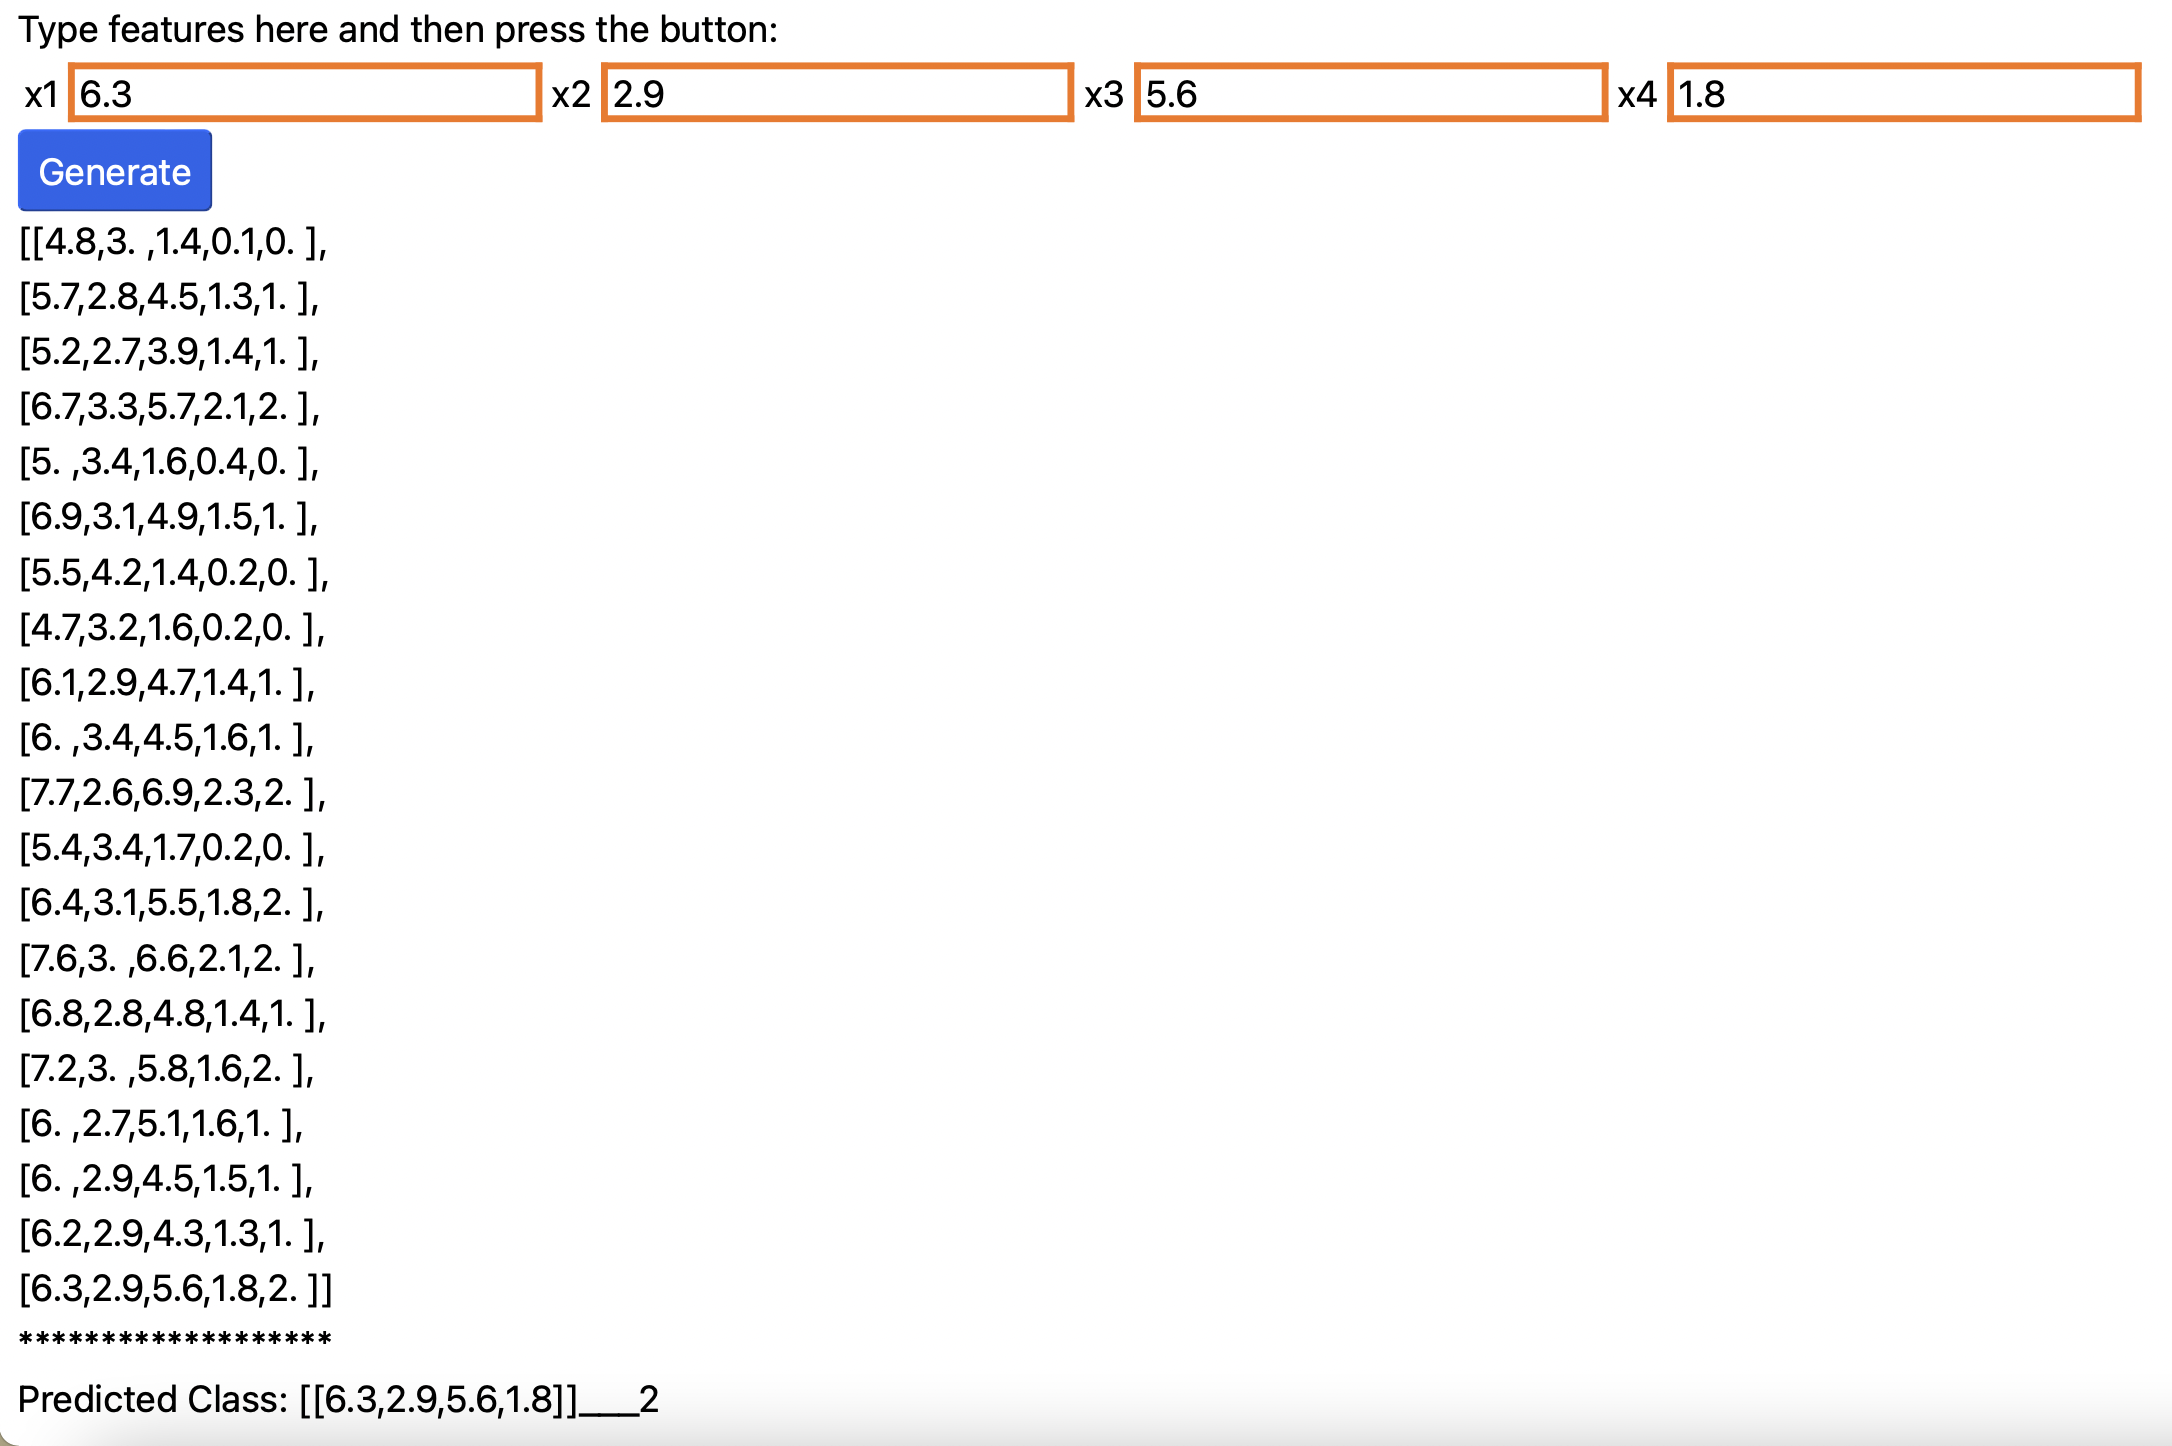
As you can see, it will be a website with textboxes where you can enter 4 values for the 4 features of a sample of Iris flower. Given those values, KNN will tell you if it is of type Setosa, Virginica, or Versicolor.
Resources
This project book comes with a companion GitHub repository. All the code files and data can be accessed from there. You can run the websites from there as
well via links in the README files. I recommend using the project book as much as possible and only looking at the GitHub files when you are stuck.
Solving problems on your own will help you to learn more effectively. Color images are also available from the repo.
The links to the resources are as follows:
I may use my website at https://www.rcalix.com to post additional materials, links, or blog posts, but in general, the GitHub repo should be the official companion site for the book series. As time permits, I may also post related videos on my YouTube channel.
Conclusion
This concludes chapter 1. In it I described a lot of the background on the tools and the development environment that we will use to build our AI project. We also started to discuss the project goals and some of the key ideas. In chapter 2 we will get into more details about PyScript and how to use it with Python and Numpy. And in chapter 3, we will proceed to build, run and deploy our KNN project to the web.